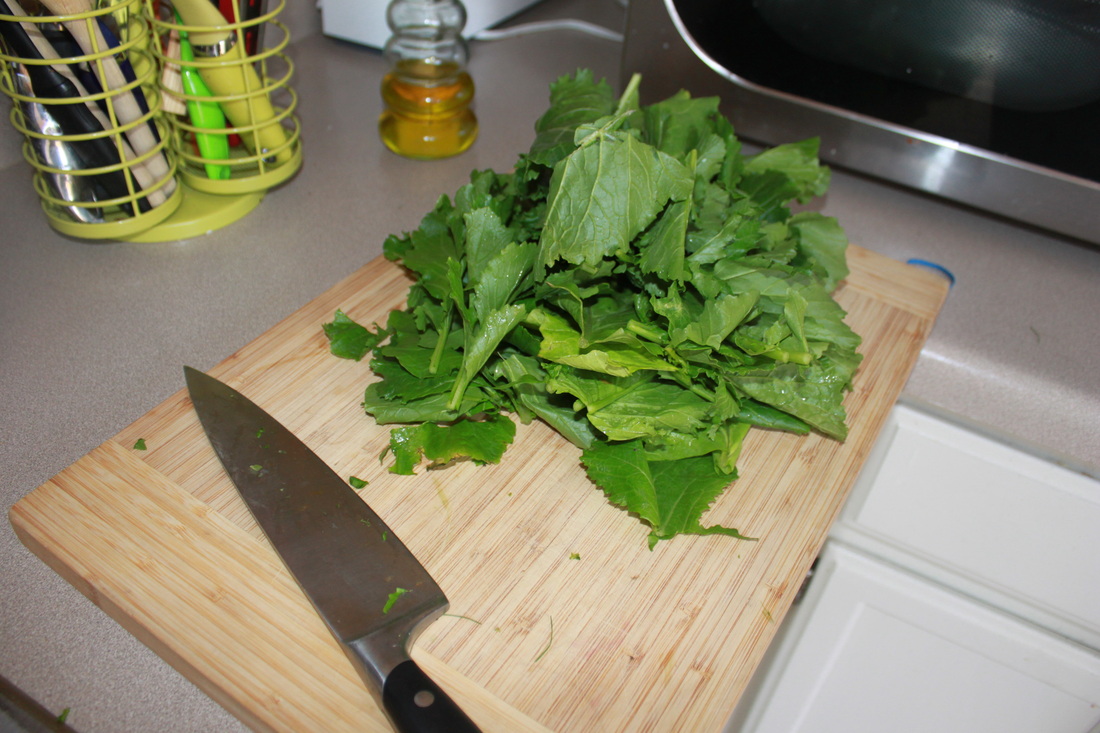
Back in August I found this great website: Local Harvest. Local Harvest makes it super easy to find farmers' markets, family farms, and other sources of sustainable and locally grown food. All you have to do is enter your zip code and BOOM farms, farmers' markets everywhere near you! What's also great about this website is they also help get you in contact with CSAs. For those of you who have never heard of a CSA before it stands for Community Supported Agriculture. Basically you give a farmer money up front and they will provide you with a share of whatever they grow! So Local Harvest finds farms that participate in CSAs and make it super simple for you to contact them. I'd been interested in CSAs for awhile but never had figured out how to find one until Local Harvest came along. I searched and found Wellspring Farm in West Bend, Wisconsin approximately 32.5 miles from me (according to Google maps). Since summer was ending I had missed the opportunity of participating in a summer share where the produce would be extra bountiful. However, I found Wellspring also offers winter shares, which actually I thought would be better since I'm typically only cooking for one! It's also a little cheaper and you only pick up your share of produce every other week. I also was able to order a dozen eggs along with the produce! So I signed up and on October 25th I picked up my first share from Wellspring at Outpost on Capitol Drive. WOW was there a ton of vegetables! Leeks, onions, garlic, shallots, turnips, fennel, kohlrabi, carrots, beets, parsnips, spinach, kale, radicchio, cabbage, cilantro, parsley, butternut squash, acorn squash, and more! How was I going to eat all of this delicious food!? Some of it I had never even cooked with before! But that's exactly what I wanted, to be exposed to lots of new food and figure out how to make it and make it tasty! So here is my first recipe from my CSA using Broccoli Rabe, a new ingredient to me, but one that I will definitely keep using! I really liked the nuttiness it had, plus I looked it up and it's also high in Vitamins A & C! And it's also called Rapini! Spicy Broccoli Rabe BaguetteThis recipe is adapted from The Art of Simple Food by Alice Waters. Ingredients- 1 bunch broccoli rabe, thick stems discarded
- 2 Tbsp. extra-virgin olive oil
- 1 garlic clove, minced
- 1 teaspoon crushed red pepper
- Salt and freshly ground pepper
- whole grain or sprouted grain baguette
- sprinkle of Parmesan cheese
Directions:- Bring a pot of salted water to a boil (you want just enough water to cover the broccoli rabe in order to preserve the Vitamin C!) Add the broccoli rabe and cook until just tender but still bright green, about 3 minutes.
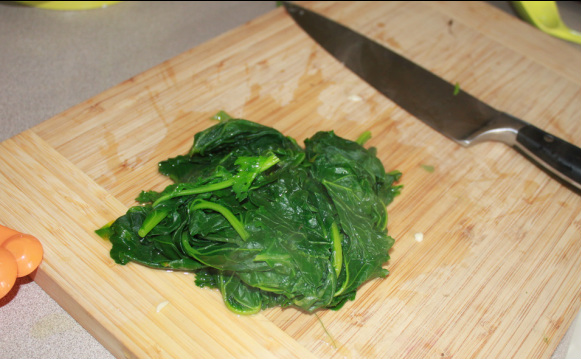
- Either strain your broccoli with a colander or use a slotted spoon to pull it out if you want to reuse the water. You can use the water to cook pasta or rice or quinoa! It will be a slightly green color (that means there are nutrients in there!)
- Once the rabe is cooled you can squeeze some of the excess water out. You'll notice the huge amount of broccoli rabe you started with has shrunk significantly!
- In a large, deep skillet, heat the oil. Add the garlic and red pepper and cook over low heat until the garlic is golden, about 3 minutes.
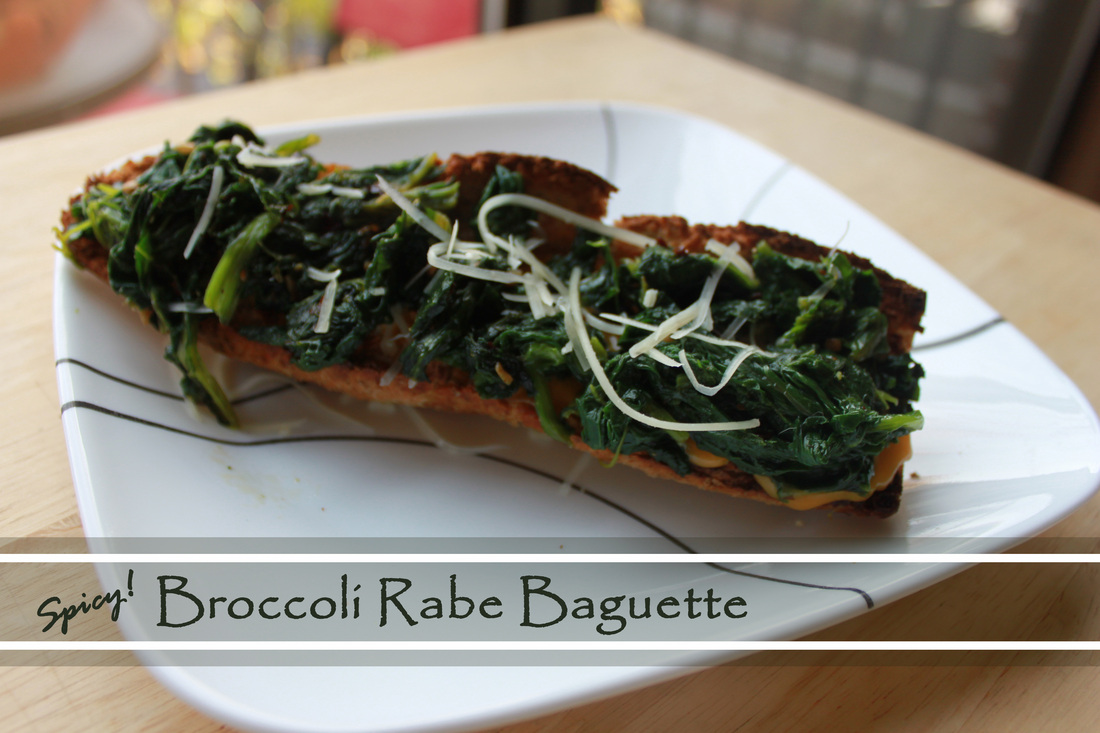
- Carefully add the broccoli rabe (the water in it will make the oil jump!) and cook over moderately high heat, stirring, until hot, about 4 minutes. Season with salt and pepper. You can then just it as is, but I took it one step further to make a whole meal out of it. I grabbed Cybros' Sprouted 7 Grain baguette, cut in half. Toasted it for two minutes on it's own under the broiler. Then spread the broccoli rabe over it and toasted it again for another minute. Sprinkle some Parmesan cheese on top and Voila! Spicy Broccoli Rabe Baguette! Delicious!
Other ideas: - Cut baguette into smaller pieces to make little Broccoli Rabe Crostinis!
- Cook quinoa in the leftover broccoli rabe boiling liquid and then mix the quinoa and broccoli rabe together! Could do the same thing with rice or pasta.
- Add the leftover broccoli rabe to your scrambled eggs in the morning or as a filler in an omelet.
Let me know if you have any other ideas! --Amy
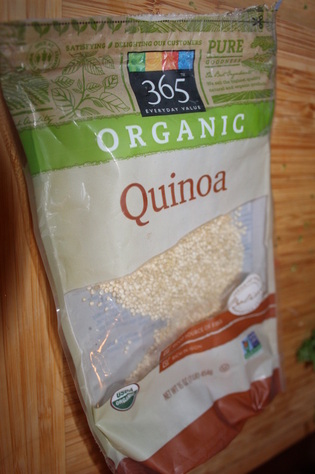
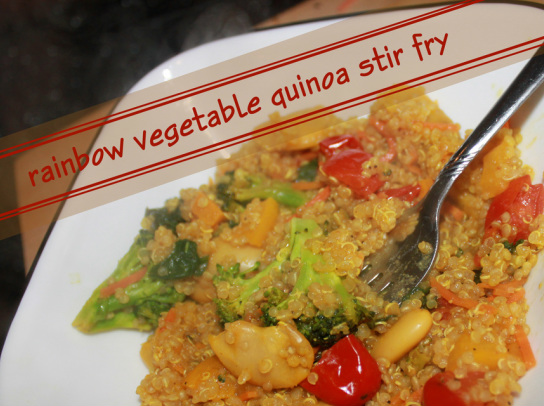
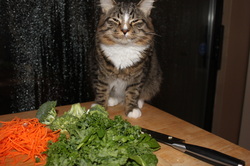 We had a fundraiser at MCFI for our children's programs, and we were left with a plethora of vegetables. I was more than happy to take the extra home! Reggie, my silly little kitty, was not as thrilled: <---- "Meow, where's the tuna?!" But what was I to do with all these vegetables? Well I've always found that a simple stir fry is the easiest way to use up lots of veggies and thought it would be a perfect dinner for a rainy night! Luckily I also had some quinoa tucked away in my pantry.
| | If you didn't already know, quinoa is one of the best whole grains out there (and it's really actually a seed!) It's a complete protein, meaning that it contains all of the 9 essential amino acids our bodies need to function! This is rare to find in a non-animal product. Additionally, it is high in many other vitamins and minerals, including iron and fiber. It's also naturally gluten-free! And it worked fabulously in this dish! (And just in case you're wondering, it's pronounced KEEN-wah, but if you don't say it correctly oh well! It is still a fun word and tasty food!) | Rainbow Vegetable Quinoa Stir FryIngredients:- 2 cups vegetable broth
- 1 cup quinoa
- 2 tablespoons oil (typically if you are actually high heat stir-frying, you want to use an oil that has a high smoke point, these include peanut, corn, safflower, grapeseed, and canola oil)
- 1 bell pepper
- 1 shallot
- 2 cloves garlic, minced
- 1/2 cup shredded carrots
- 1 cup broccoli, cut into florets
- 1 cup cherry tomatoes, halved
- 1 cup kale, roughly chopped
- 1 cup spinach, roughly chopped
- 1-15.5 oz can of your favorite beans (I used Lima beans)
- 1 teaspoon curry powder
- 1 teaspoon cumin
- 1 teaspoon turmeric
- 1/2 teaspoon black pepper
- kosher salt to taste
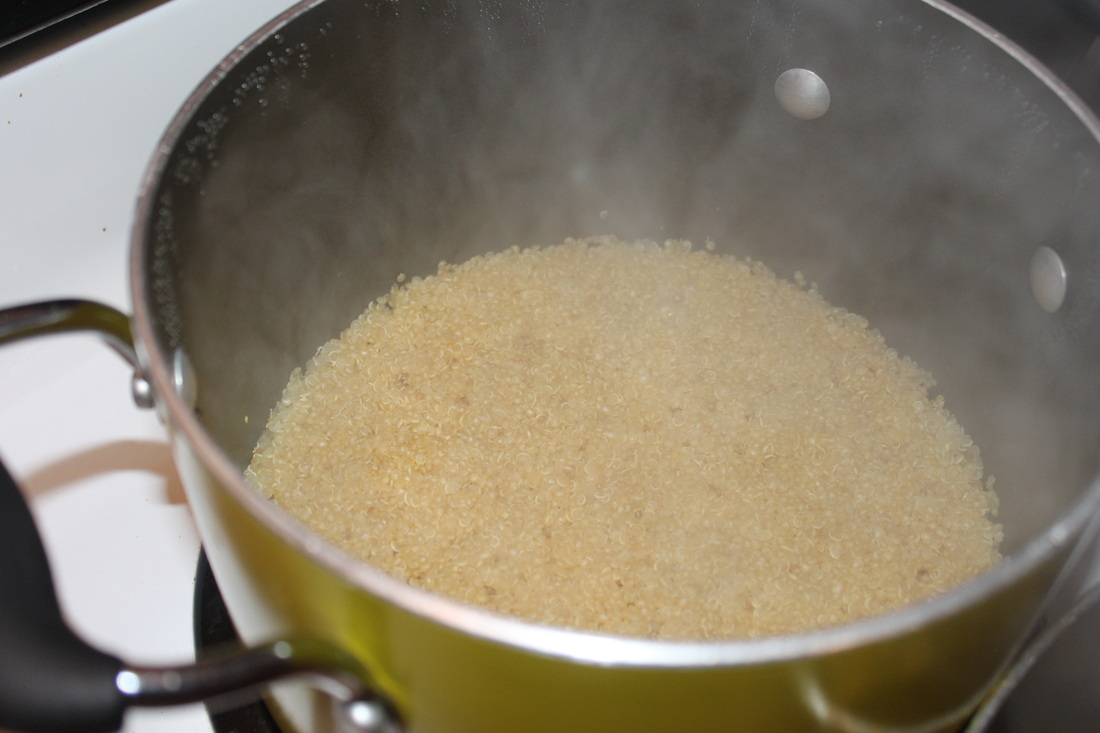
Directions:- Rinse your quinoa well in a mesh strainer to remove the natural bitterness of the seed's outer coating. I swear this step is important! Then add the quinoa to and your 2 cups of vegetable broth in a pot that has a matching lid and bring to a boil. Once it's boiling, turn the heat down to low, cover your pot, and let the quinoa simmer for about 15 minutes or until the liquid is absorbed and you can see tiny spirals (the germ) curling around the quinoa seeds.
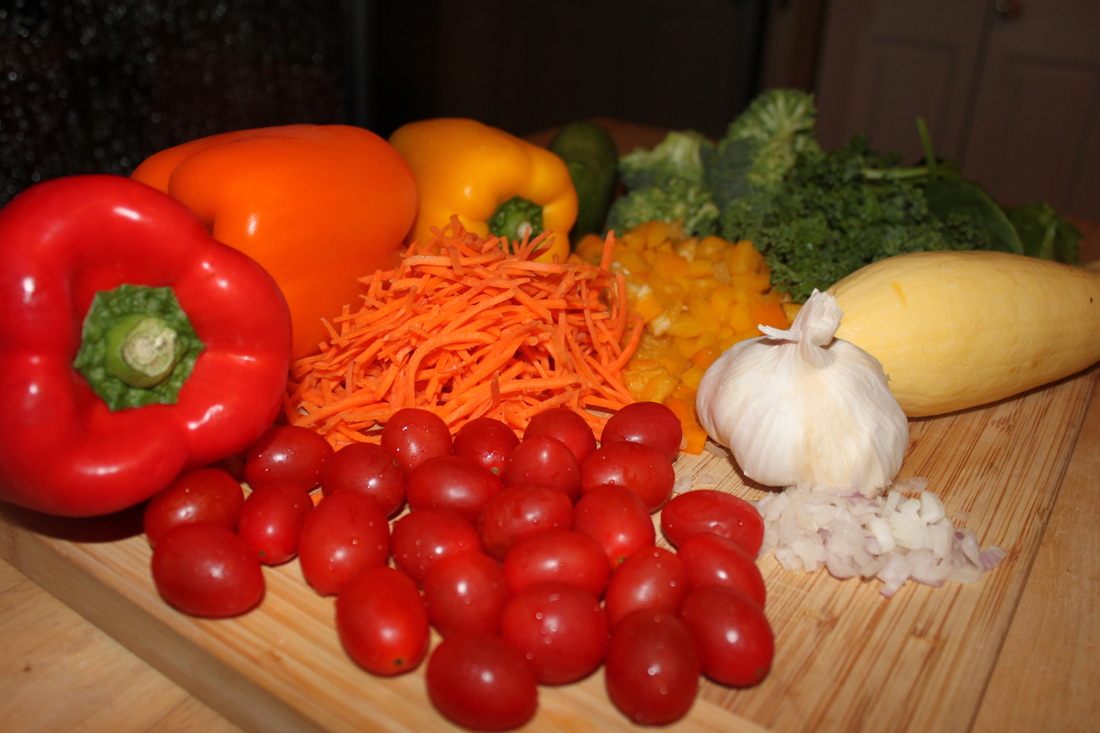
- Prep all of your veggies (while the quinoa is cooking). I listed everything that I used but the great thing about stir fries is you can easily substitute whatever vegetables you have available! I ran out of onions so I used a shallot instead. Leeks would also have been delicious! It's also important to make sure you get your vegetables down to manageable textures for this. You don't want huge chunks of carrots that will take forever to cook, same with broccoli or cauliflower if you chose to use those.
- Optionally, "parboil" your tougher veggies. I just threw my chopped broccoli in a bowl with about 1 cup of water and microwaved them for two minutes. It helps to lightly steam the broccoli so it's not as tough. If you wish, you could actually parboil the veggies or steam them to tenderize.
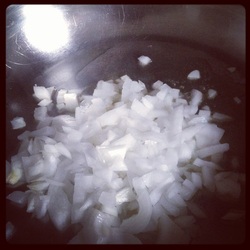
- Heat a large saute pan or wok if you have it over medium-high heat. Add your oil. When your oil is hot (you can test it by carefully spritzing a drop of water on the oil, if it sizzles, it's ready), add your onions and bell peppers and cook for a few minutes.
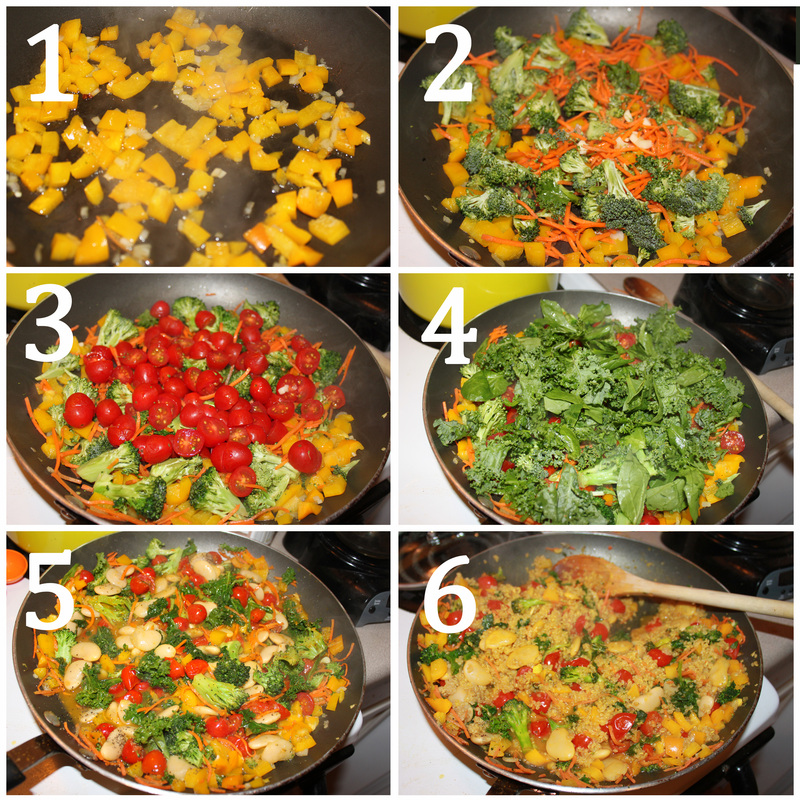
- Then starting adding veggies by the amount of time they need to cook. Using pictures below, I've shown the order I added the vegetables.
- When your vegetables are slightly browned and tender (try not to burn anything!), add the entire can of beans and its liquid (see picture #5). (Whereas I normally drain and rinse my beans, I like using the bean liquid for saltiness and a little moisture in this recipe.)
- When your quinoa is ready, add it to the pan as well as your spices. Stir it up so it's all mixed together and the beans are heated through. Then portion into a bowl and enjoy!
Makes about 4 large portions and is still great as leftovers the next day! Even goes mixed in scrambled eggs or an omelet for breakfast! Hope you like it!
--Amy
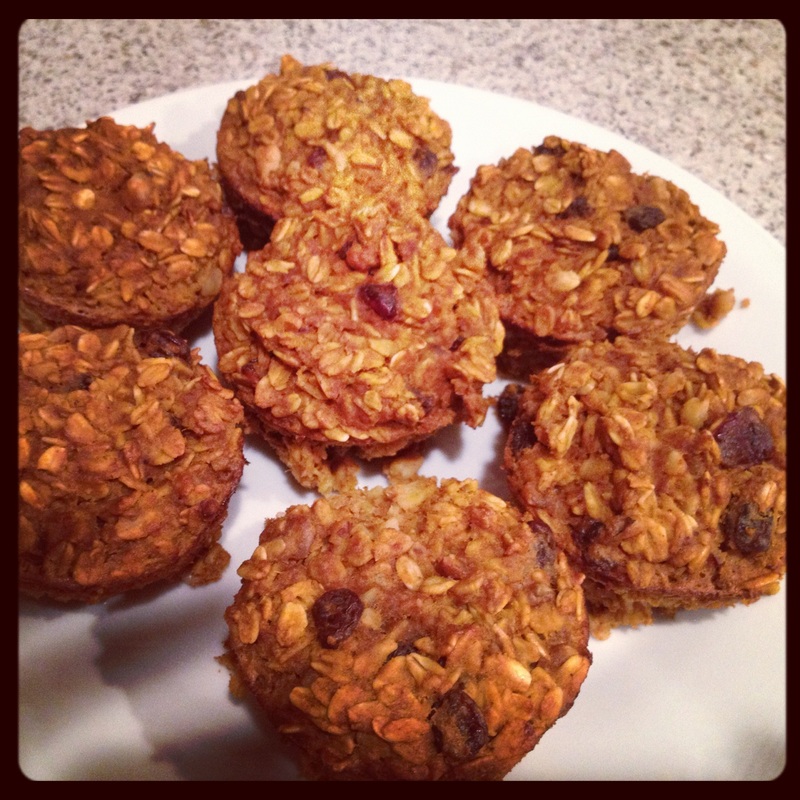
It's oatmeal. It's a muffin. It's both! Adapted from something I found on the internet but have no clue where I got it because it was several weeks ago. Thank you unknown person for the inspiration.
Makes 12 muffins.
Ingredients:
2 Tbs melted coconut oil (you can use butter or whatever else you want)
1 cup pumpkin puree
1/4 cup date sugar
2 cups non-dairy milk (I used homemade brazil nut milk but feel free to use unsweetened almond)
2 eggs, slightly beaten
3 cups gluten free rolled oats (...use regular if you are not me)
1 1/2 tsp baking powder
Pinch of sea salt
1 tsp Cinnamon
1/4 tsp Ginger
1/4 tsp Cloves
1/4 tsp Nutmeg
1/2 cup dried cranberries (or raisins if you want)
1/2 cup chopped pecans or walnuts
Directions
Preheat oven to 350F. Grease (I use coconut oil) muffin tin or, better yet, use one of those silicone ones that nothing sticks to. In a large bowl combine all liquid ingredients and set aside. In another bowl combine all dry ingredients along with the raisins and nuts. Mix dry and wet ingredients together and gently fold until thoroughly combined. Divide evenly into the greased muffin tin and bake for approximately 30-35 minutes until golden brown and springy.
Allow to cool before attempting to remove from the muffin tins or they will get a little crumbly.
Enjoy!
--Shelly
P.S. For all of you that might be wondering.... WHAT? She used EGGS??!!! What the H? Yep, I use eggs sometimes. It will be okay.
 I still have a ton of Swiss Chard in my garden despite the fact that we have had several hard frosts. I love the cold tolerant greens because you can enjoy them long into the winter weather. Last year I was brushing snow off the kale and eating it raw. Not for everyone, I know, but for me it was like getting a shot of summer in the dark, dreary winter days. Many greens get sweeter as it gets colder which is an added benefit.
This recipe features several Anti-Angiogenic Foods and is great at any meal. My parents raise chickens for their eggs and I have to say, this swiss chard saute is heavenly with some good organic scrambled eggs.
Ingredients:
1 Tbs olive oil, coconut oil, or butter (whatever you prefer)
1/2 large white onion, chopped
2-3 large cloves of garlic, minced
5-6 large leaves of Swiss chard, stripped and chopped (i.e removed the stems... but keep them)
5-6 Swiss chard stems,the ones you removed from the last step, chopped :)
2 tsp Turmeric
1/2 tsp Black Pepper
Salt to taste (I love Herbamare a salt and seasoning blend available at natural food stores)
Directions:
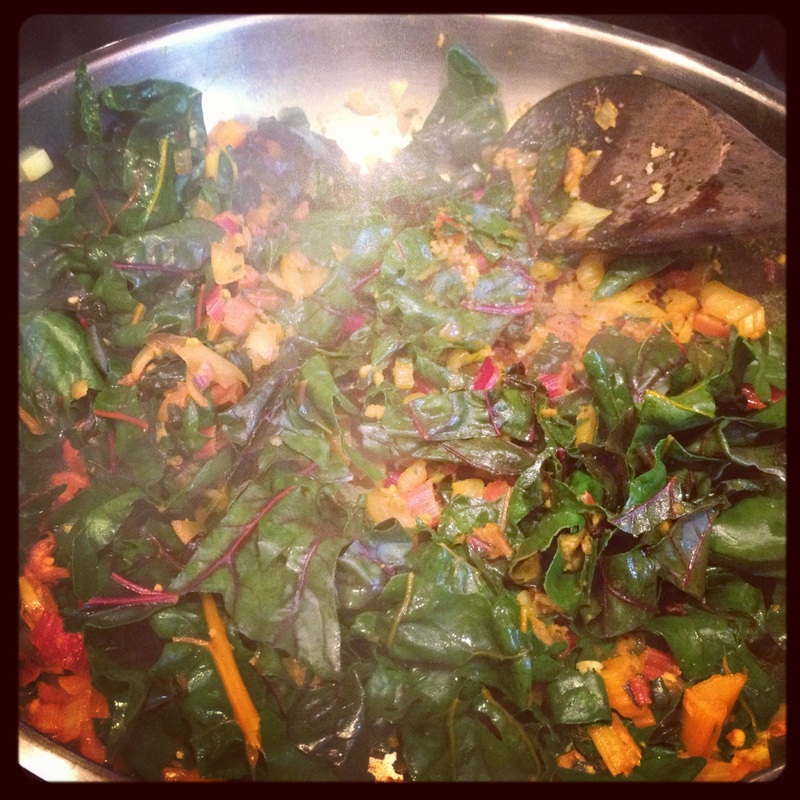
Heat a large skillet over medium/high heat. Add olive oil, coconut oil or butter to the skillet. Add onions and garlic and saute for several minutes until translucent. Add chopped Swiss Chard stems, turmeric and black pepper. Reduce heat and allow to soften. This process takes several minutes. See picture below.
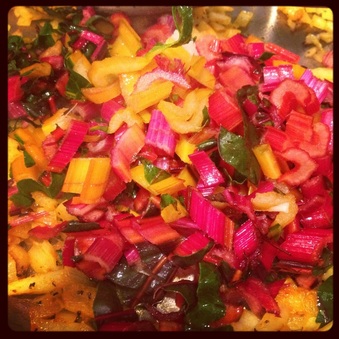 Once the Swiss Chard stems are softened, add the chopped green leaves of the Swiss Chard. This part wilts very quickly when exposed to heat and is very similar to lettuce. I like my veggies a little crunchy so it's really up to personal preference how long you cook them during this step. If you like them very soft, you will need to keep them on longer.
For me, it only takes about 2-3 minutes.
After the greens have wilted to your liking, add salt to taste and enjoy!
Like I said, this recipe is great with scrambled eggs but would be equally delicious with brown rice even on it's own.
Enjoy!
-- Shelly
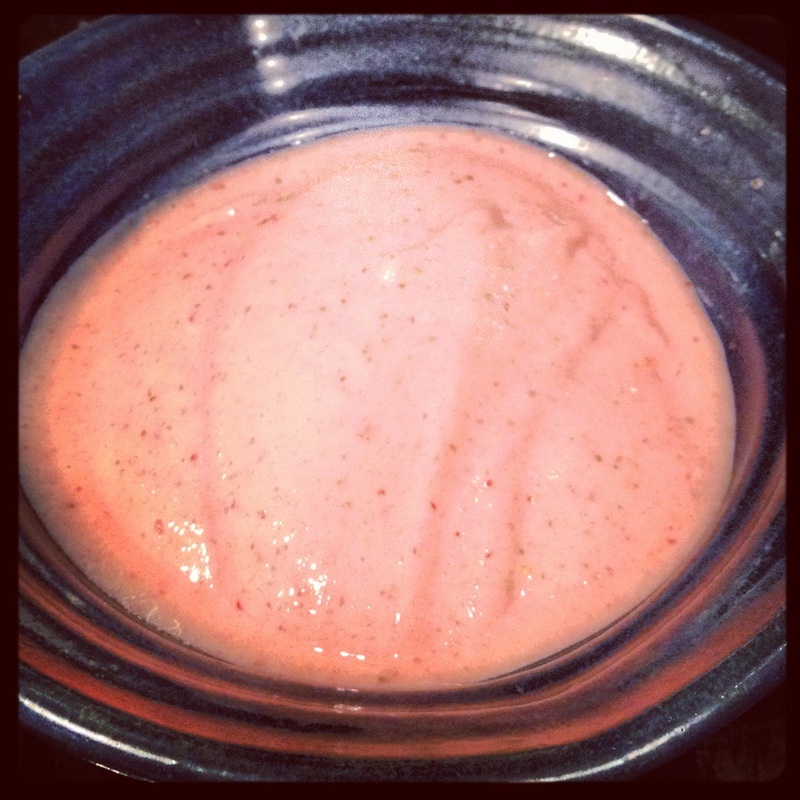
This is a super simple recipe to whip up in your food processor. You could also try it in a blender for those of you that want to, you may just have to add a little more liquid in order to allow it to do it's thing. This made a huge amount of "yogurt." Jamal and I ate some after dinner and I had the rest as a smoothie for breakfast the next morning... I just placed it in a ball jar and stored it in the refrigerator overnight where it thawed into a perfect smoothie consistency.
Ingredients:
1 lb fresh strawberries, preferably organic
5 frozen bananas, cut into chunks
2-3 tsp. powdered probiotics
Directions:
Wash all of the strawberries thoroughly. Cut off green stems. Place strawberries, banana chunks and powered probiotics in the food processor. Process until creamy and smooth. If you like it thicker, add more frozen banana's. If you want it thinner add some liquid.
Tips from Shelly: By all means, use frozen strawberries if you have those on hand, especially this time of year when they are extremely expensive. I just happened to be in the right place at the right time and got a discounted container for $0.79. If using frozen, you can either thaw them a little or add a little non dairy milk in order to process the frozen yogurt effectively. If you are not opposed to eating real dairy yogurt, by all means, add a few scoops of plain yogurt to the mix instead of the powdered probiotics. Also, the probiotics are not necessary. Just the strawberry and banana combo is fabulous on its own so don't worry if you can't find them or don't want to purchase something extra.
Enjoy!
--Shelly
Recently, I went to a fabulous gluten free cooking class at Good Harvest Market taught by the amazing Nikki Jencen. Luckily, Nikki and I have similar opinions regarding gluten free cooking... focus on things that are naturally gluten free. For those of you that don't know, I was recently diagnosed with gluten intolerance which in essence means I will no longer be eating gluten containing grains and foods... for the rest of my life. In my search for new foods that I will enjoy, it quickly became evident that many of the "Gluten Free" products that are available in the markets are highly processed, junk foods and they are not items that I personally feel would benefit my diet in any way. The good news is many of the foods that I love like vegetables, fruits, nuts, seeds, and whole grains like quinoa, millet and brown rice are already gluten free. Epiphany!!! My life is definitely not over yet!
This was the first recipe we made in the cooking class and I made sure to sip very slowly so that it lasted through the entire class. During the past six days I have made this recipe twice. This would be great with home-made almond milk but I don't always have time for that. Just make sure you get the unsweetened variety of whatever non dairy milk you are purchasing.
Ingredients:
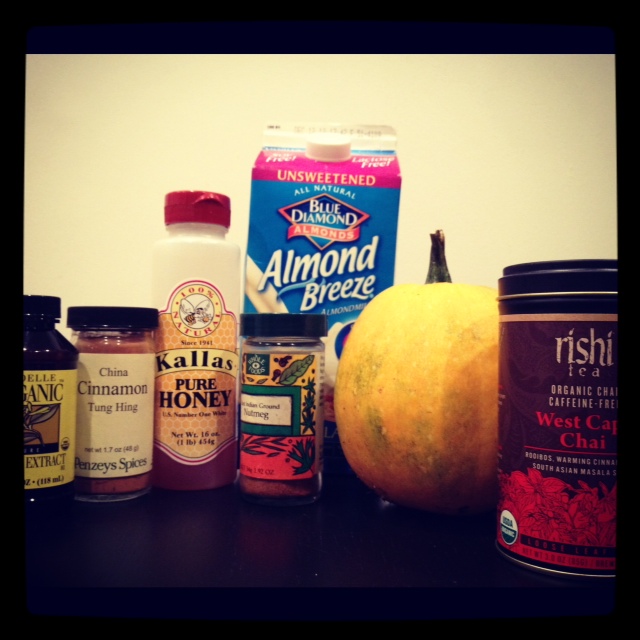
3 cups Almond Milk or other non-dairy milk (If you like regular milk you could use that too.)
2 tea bags of your choice (Early Grey, English Breakfast, Chai or Cinnamon/Ginger are all great)
1 Tbs. Vanilla Extract
1/2 can pumpkin puree (about 1 cup if you are roasting your own)
1 tsp. pumpkin pie spice
1 tsp. cinnamon
1-2 Tbs raw honey
1/2 tsp. nutmeg
Directions:
Place a medium sized sauce pan over medium heat. Add almond milk and tea. Heat until steaming but not yet boiling. While the tea is steeping in the almond milk, place pumpkin, spices, vanilla and honey until a bowl. Whisk together until thoroughly combined. When almond milk is hot and the pumpkin mixture is ready, whisk the pumpkin mixture into the warm almond milk. Pour into mugs and enjoy!
Tips from Shelly: I am a big fan of caffeine free teas and Rishi Tea Company makes a great caffeine-free Chai blend that is delicious in this recipe. This would also be super cute served at Thanksgiving in a mug with a cinnamon stick and a dollop of coconut "whipped cream."
Not only is pumpkin an Anti-Angiogenic Food, it's also a great source of Vitamin A, Zinc, Magnesium and Fiber.
Enjoy!
--Shelly
Serves Two
Ingredients:
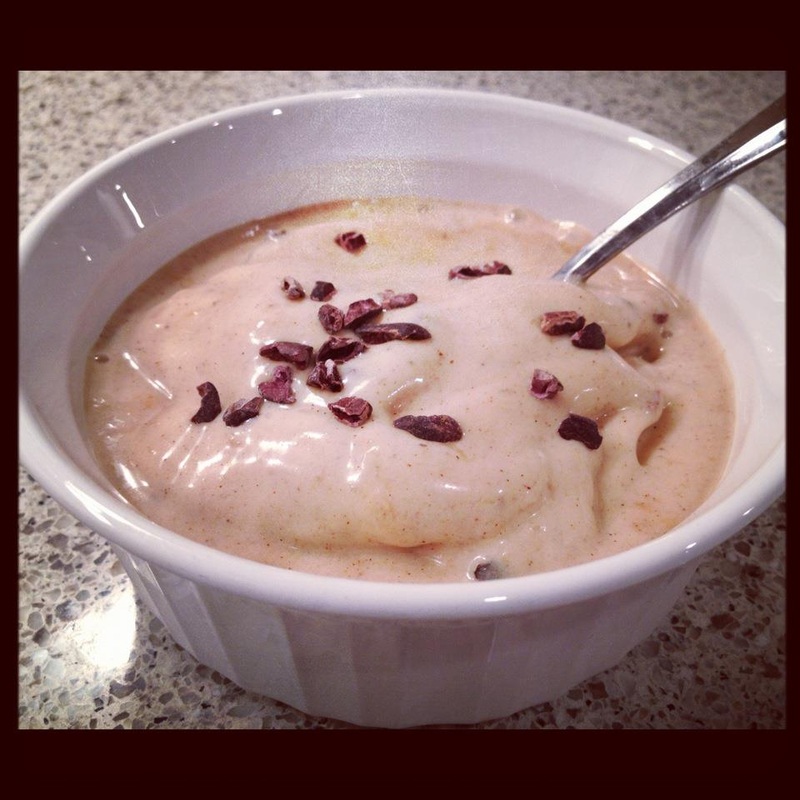
4- Frozen Bananas, cut into chunks
1/2 cup-3/4 cup Unsweetened Almond Milk
1-2 Tbs Almond Butter
1/2 teaspoon Ground Cinnamon
2 Tbs Cacao Nibs
Directions:
Place bananas, 1/2 cup of almond milk, almond butter and cinnamon into a food processor. Process until creamy and smooth. You may need to add additional almond milk until desired consistency is reached. If you want it a little softer or if you want to enjoy it like a shake, you can add more almond milk.
Sprinkle with cacao nibs and serve immediately. This is something you want to eat fairly quickly after you make it. I wouldn't plan on refreezing it just because it doesn't hold up the best.
Tips from Shelly: As soon as your fresh banana's begin to freckle and are no longer desirable to eat fresh but are still relatively firm, peel them and place in a gallon size freezer bag and keep in the freezer. You can also sometimes purchase them on discount at your local markets. They make awesome ice"cream" and are a nutrient rich addition to smoothies.
The options for this recipe are endless once you have the main idea down. You can make Raspberry Cashew, Banana Peanut Butter, Blueberry Coconut and many other variation just by switching out the nut butter and leaving out the cinnamon, if desired.
Enjoy!
--Shelly
“Eat food. Not too much. Mostly plants.” ― Michael Pollan, In Defense of Food: An Eater's ManifestoFor most people the concept that food can be medicine is something completely foreign. Most people in America don't put much thought into the foods that they eat on a regular basis. We spend millions and millions of dollars each year searching for the magic bullet, the newest diet plan or pill that will make us thin, beautiful and ageless with minimal effort. The truth is that there is no magic bullet. Optimal health, at least in our modern world, takes effort. It comes from living a healthy lifestyle and preparing and eating fresh minimally processed whole foods. You have to put the time in. Food is more powerful than many of us realized. Over the past several months Amy and I have been learning a lot and teaching many classes at NuGenesis Farm in Delafield, WI (soon to be moving to Stone Bank, WI). NuGenesis Farm was started by a women named Kathy Bero who is a three time cancer survivor. It was during that battle that Kathy was introduced to the term Anti-angiogenesis. Angiogenesis, the proliferation of blood vessels, is necessary at three times in your life, during menstruation, pregnancy or during wound healing. When Angiogenesis is happening outside of those three life events it can prove to be quite dangerous. Angiogenesis is the process that turns a small, harmless single cancer cell into a large, life-threatening tumor. Anti-angiogenic foods are foods that have been proven to turn off this process, in essence, to stop the proliferation of blood vessels from feeding cancer. Cancer cannot grow without a source of nutrients. Not all foods have proven Anti-Angiogenic benefits... sorry junk food lovers. This list is a simplified version of NuGenesis' list of "Foods to Embrace." VegetablesArtichokes Asparagus Bok Choy Broccoli Butternut Squash Carrots Celery Collards Cucumber Fennel Green Beans Green or Yellow Squash Green, red & purple Peppers Kale Leeks Lima Beans Mushroom Peas Pumpkin Purple Cabbage Purple Cauliflower Purple Turnips Radish Red beets Red onions Red shallots Scallions Soy Beans (Edamame) Spring Mix Greens Sweet Potato/Yams Swiss chard Tomatoes Watercress FruitsApples
Black Currants Black Raspberry Blackberries Blueberries Cranberry Grapefruit Lemons Oranges Pineapple Red Grapes Red tart cherries Strawberries NutsAlmonds Hazelnuts Walnuts HerbsBasil Chives Fenugreek Garlic Ginger Green/purple sage Italian parsley Lavender Licorice Marjoram Mint Nutmeg Oregano Rosemary Thyme Turmeric w/pepper OtherDark Chocolate Grape Seed Oil Green Tea Olive Oil Red Wine Notice, all of these foods are PLANTS or derived from PLANTS! (There is a theme here.) Another benefit of these foods, there are no side effects.... except for a happy vibrant thriving body. You will see many of these foods in the recipes we post on this site. It's important that if you do start incorporating more of these foods into your diet that you try to eat these foods on a daily basis. For more information about Anti-Angiogenic Foods and/or NuGenesis Farm please visit: http://nugenesisfarm.org/--Shelly
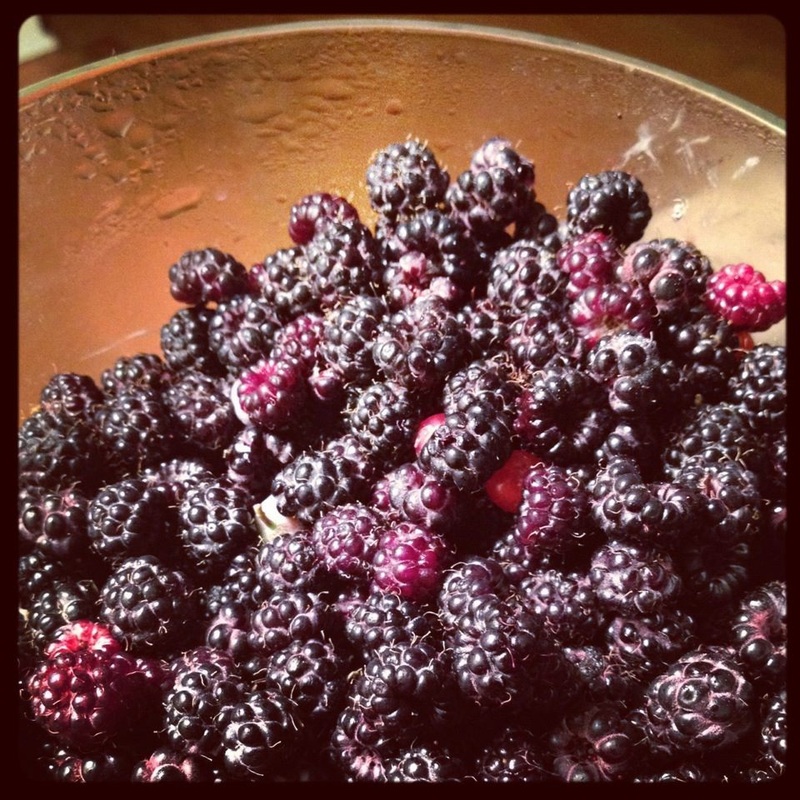
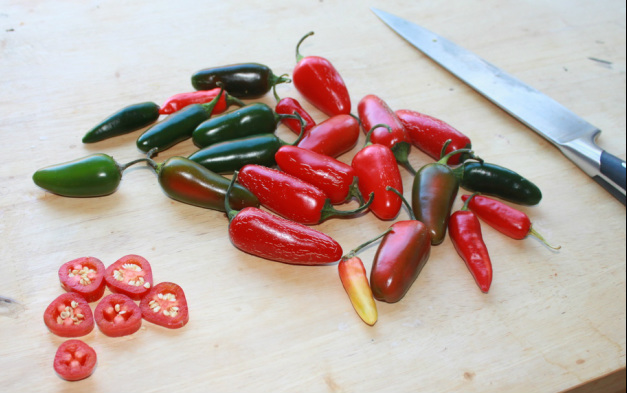
Michelle harvested all of the peppers in her backyard garden and brought them to work for us to enjoy. Thank you, Shelly!!! I grabbed a ton of jalapenos thinking I would make some poppers, but then I had a better idea: hot sauce! Turns out it's pretty simple to make your own! And you can add other flavors and make it as hot as you want! I used mostly jalapenos but habanero chilies would work if you wanted them extra hot. I also added some peppers I had previously roasted to add a slightly smokey flavor! Try it out with your own pepper mix! Ingredients: - approx. 25 jalapenos or other spicy peppers
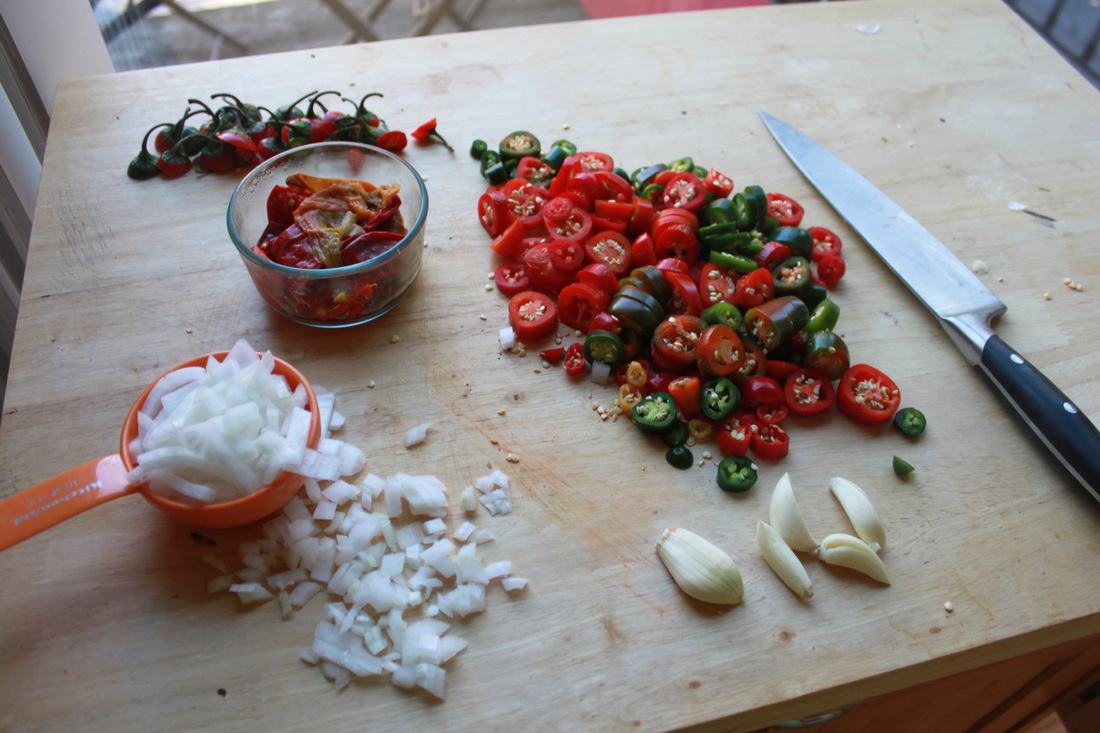
- half of a white onion (about 3/4 cup chopped)
- 2 tbsp. olive oil
- 5 cloves garlic, minced
- 1 cup water
- 1/2 cup roasted peppers (I used some sweeter peppers for a milder flavor)
- 1 cup distilled white vinegar
- 1/2 teaspoon salt
- black pepper, cumin, turmeric, and other spices to taste!
Directions:- Turn on your vents or open your windows, your kitchen is going to get spicy!
- Carefully chop your peppers into small chunks, nothing fancy, you're going to blend them later anyway. I recommend wearing gloves or carefully hold the peppers by the stem to avoid touching the seeds and ribs which is where most of the heat lies. *Note: If you want less heat from your peppers, remove the ribs and seeds since that is where most of the heat is contained!
- Add approximately two tablespoons of olive oil to a pan and heat to medium. When oil is hot, add your peppers and chopped onion. Saute for about 5 minutes or until the onion is translucent.
- Add your minced garlic and saute for another minute more. Add 1 cup of water and let simmer for about 15 minutes or until peppers are tender and the water is almost all evaporated. Turn off the heat and let the mixture cool to room temperature. *Note: adding hot liquid to a glass blender can cause cracking!
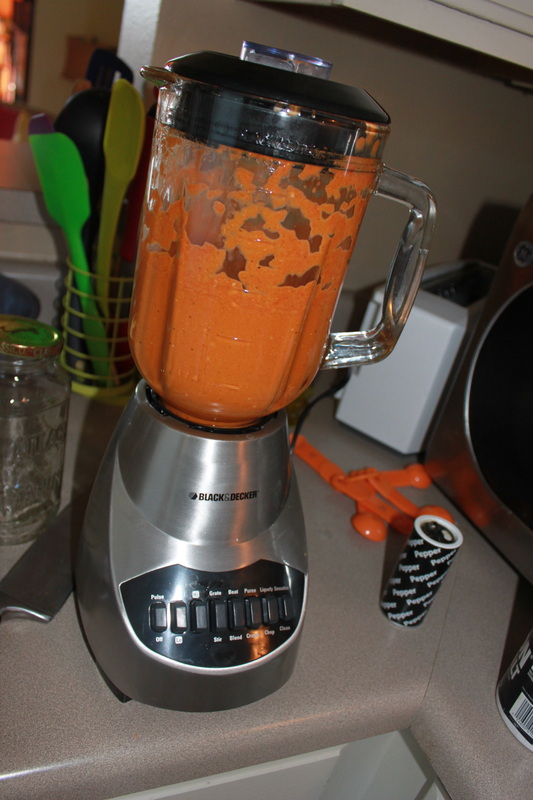
- Carefully pour the mixture into your blender. Add roasted peppers if desired (if using dried, rehydrate first). Blend on high until smooth. Add distilled white vinegar and spices and mix again until smooth. I recommend adding vinegar just 1/4 cup at a time until you reach the flavor you want. You can also use more water to thin out your hot sauce.
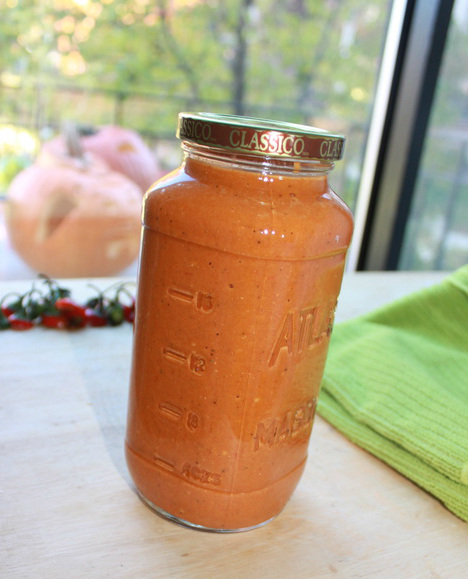
4. Pour into a clean jar (I used an old pasta sauce jar) and store in the refrigerator, it should last about 6 months. *Note: If your blender isn't the greatest, put a strainer over the jar as you pour in the sauce to catch any large chunks or seeds.
Voila! Homemade hot sauce! My sauce turned orange due to the mix of pepper colors, next time I'll try to stick to just one colored pepper to get a nice bright red or green color hopefully!
-Amy
It doesn't take people long to realize I am in the midst of a passionate love affair with Kale. Lacinato, Curly, Red Russian, Purple... it doesn't matter. I love it. It's great in smoothies, soups, stewed, sauteed and baked into kale chips. One of the most difficult ways to eat it is raw just because it can be quite tough. Kale offers substantial amounts of Vitamin A, K, C and various trace minerals. It's even high in calcium (mooove over milk)! Kale, the king of the dark leafy greens, has also made the list of the top 30 Anti-Angiogenic foods. Anti-Angiogenic foods are foods that have been proven to help cut off blood supply to cancer cells and tumors. In essence this foods contain cancer fighting properties.
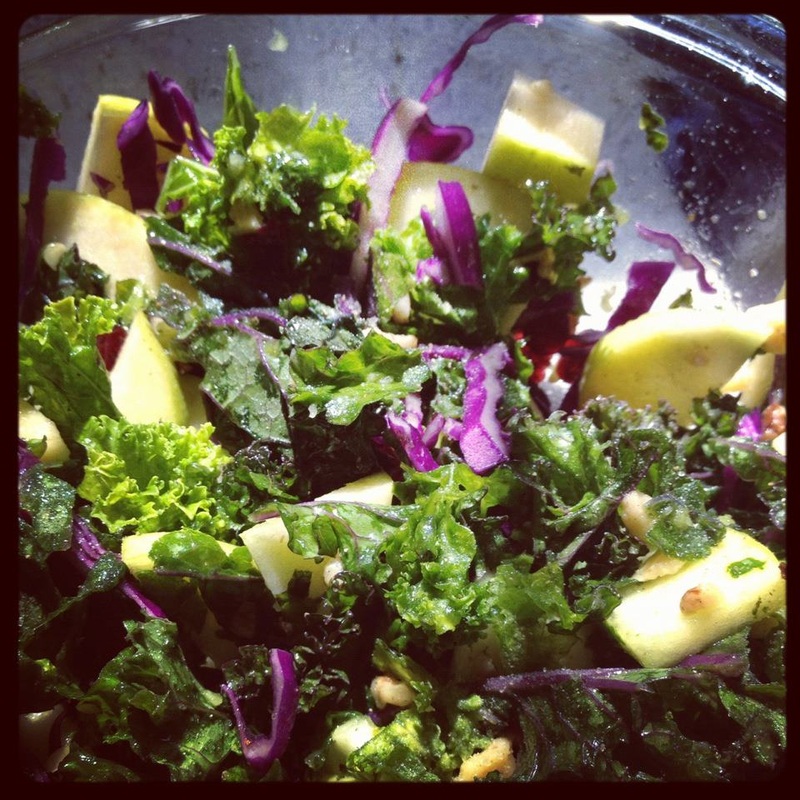
This recipe is inspired by the Kale-abration Salad from NuGenesis Farms in Delafield, WI. My husband and I prefer the 2-3 cloves of garlic because it tastes a little spicy. If you don't absolutely love garlic, I would suggest just using one clove.
8 cups chopped kale
2-3 cloves of garlic finely minced
2 Tbs. olive oil
3 Tbs. honey
1/2 tsp. salt (or to taste)
1/3 cup currant, raisins, dried cranberries or dried cherries
1/3 cup chopped walnuts or other nut of choice
2 apples, chopped
Place kale, oil, honey, garlic and salt into a large bowl. With clean hands, massage everything together. After a few moments you will see and feel the kale turning softer and more tender. You can stop massaging whenever the kale reaches the texture you enjoy. The more you massage, the softer it gets. The softer it gets, easier it is to chew. When the desired texture is reached, add all other ingredients and toss gently.
Don't be afraid to add other vegetables. In the recipe above, I added some finely sliced purple cabbage. Jicama, shredded carrots, avocado, sliced onions or any other vegetable of your choosing would most likely be delicious, as well.
Enjoy!
--Shelly
|
 RSS Feed