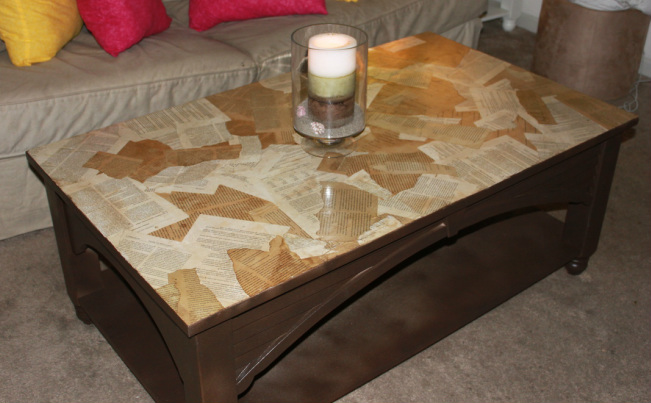
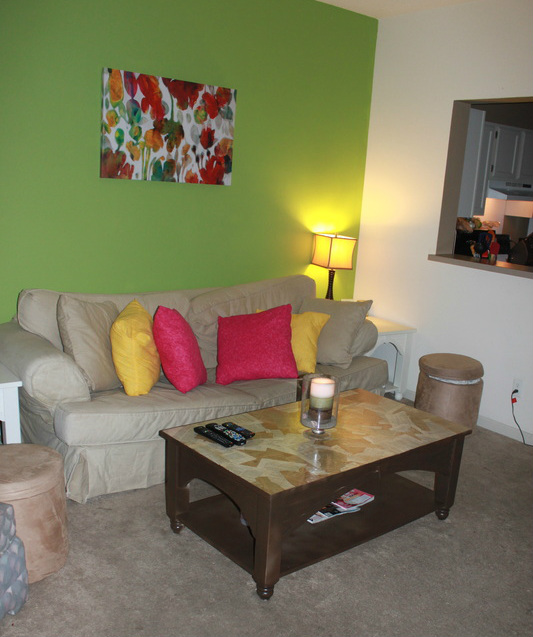
The finished product!
When I moved to Milwaukee two years ago, my parents gave me their old coffee table. It already had some wears and tears, and it definitely didn't get any better living with me. I hated to trash it, because it was in fine shape, it just had a lot of what I'll call "pock marks" from setting drinks down without coasters (GASP)! Since the top was also made of laminate and not real wood, it also posed a problem for refurbishing. My roommate Sara and I were determined to fix the eye sore of our living room though. What to do, what to do?!
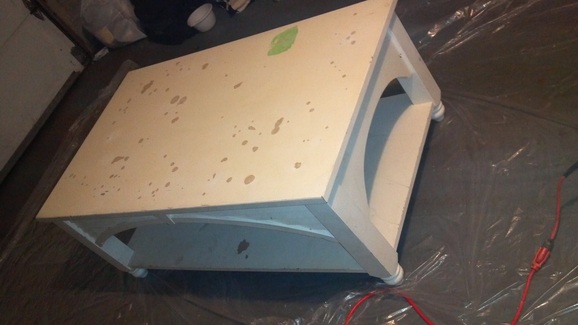
Our coffee table before!
I looked up some ideas online and luckily found a fabulous
video from one of my fav DIYers,
Mr. Kate. Why not cover up our pock marked coffee table, with pages from old books that have been soaked in coffee?! This was perfect! So this is how we fixed our ugly, old coffee table over the course of a week (modified from Mr. Kate's instructions):
Ingredients:- coffee table
- drop cloth
- sandpaper (electric sander if you have it! goes much faster)
- wash cloth and water
- spray paint primer (just one can should be fine for most coffee tables)
- spray paint or paint color of your choice for the rest of your table (It definitely took more spray paint than we thought -- apparently one can is only good for about 25 square feet)
- book pages (we used a tax accounting book and an art story book)
- pot of coffee to "age" your paper
- modge podge (I would choose this over glue, it gives it a nice shiny finish and now they even make sparkly ones!)
- small bowl to put modge podge in
- foam brush (for spreading modge podge)
- wide container to soak paper in
- water-based polyacrylic protective finish
- paint brush – for your polyacrylic
- exacto knife or razor blade
Directions:- Pick a well-ventilated but covered area to do your project, we used our garage. Make sure to lay a drop cloth down if you don't want to get anything on the ground.
- Prep table by sanding away blemishes and making it slightly rough so the paint has something to stick too, you don’t have to sand to the bone. Wipe down the entire coffee table with a damp cloth to remove the excess dust and dirt. Let dry for a few minutes before painting.
- Spray your entire coffee table EXCEPT the top with white primer spray paint. Let dry according to directions.
- After your primer dries, spray or paint your table legs with your color. You may need to do multiple coats. When using spray paint, it's better to do multiple light coats rather than one heavy coat, otherwise the paint tends to run and it won't look as nice.
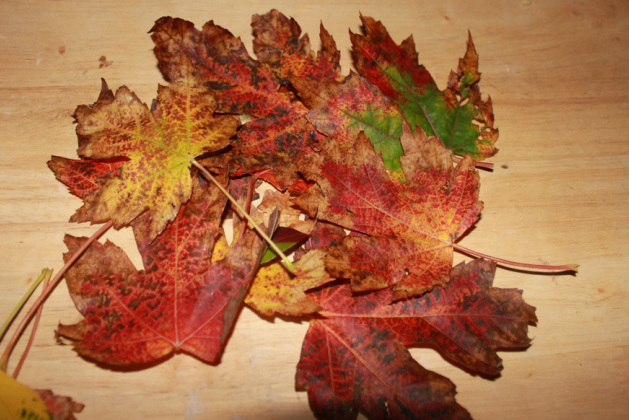
- Now it's time to get messy! Pour your coffee and tear images or pages from a book or photocopies that you want to decoupage. let them soak in the coffee liquid for just a few seconds until soft and stained but not too long so they fall apart.
- Using your foam brush, paint a layer of modge podge on the coffee table where you want to place your page. Lay it flat over the glue making sure not to leave to many air bubbles.
- Then paint another layer of glue over your piece of paper on the tabletop, use ample amounts of glue, it will dry clear so don’t worry if it looks messy as you go. You can smooth out any air bubbles with your fingers or the foam brush.
- Repeat step 6 until your entire tabletop is covered. Don’t worry about the edges, let the paper hang over, you will trim later – just make sure they’re not stuck down anywhere you don’t want decoupage, otherwise it will be hard to remove them later!
- Once the decoupaged tabletop is fully dry, use your razor blade or utility knife to carefully trim the edges.
- Paint 2 to 3 coats of polyacrylic protective finish over your entire table to seal in the design and make it totally durable for everyday use!
Note: if you need to make some spray painting repairs after you've decoupaged the top of your table, it is possible! Cover the top with paper towel or a couple sheets of newspaper right to the edge of the table. Then carefully spray the rest of your table. | 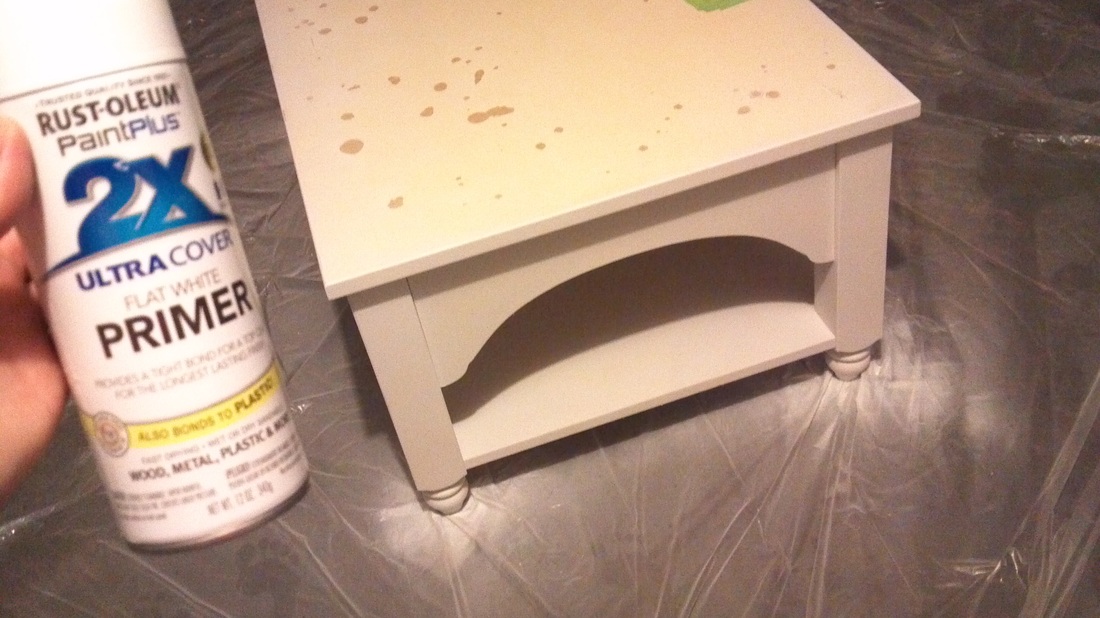 Priming 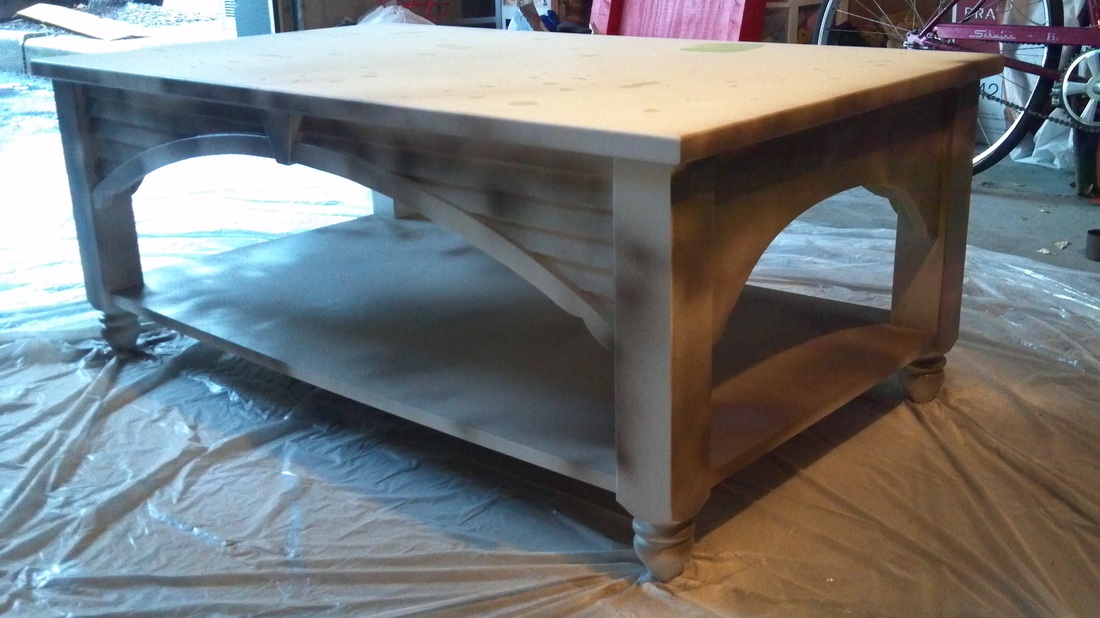 Spotty spray paint at first! 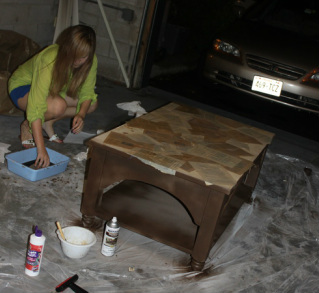 Sara "aging" our book pages 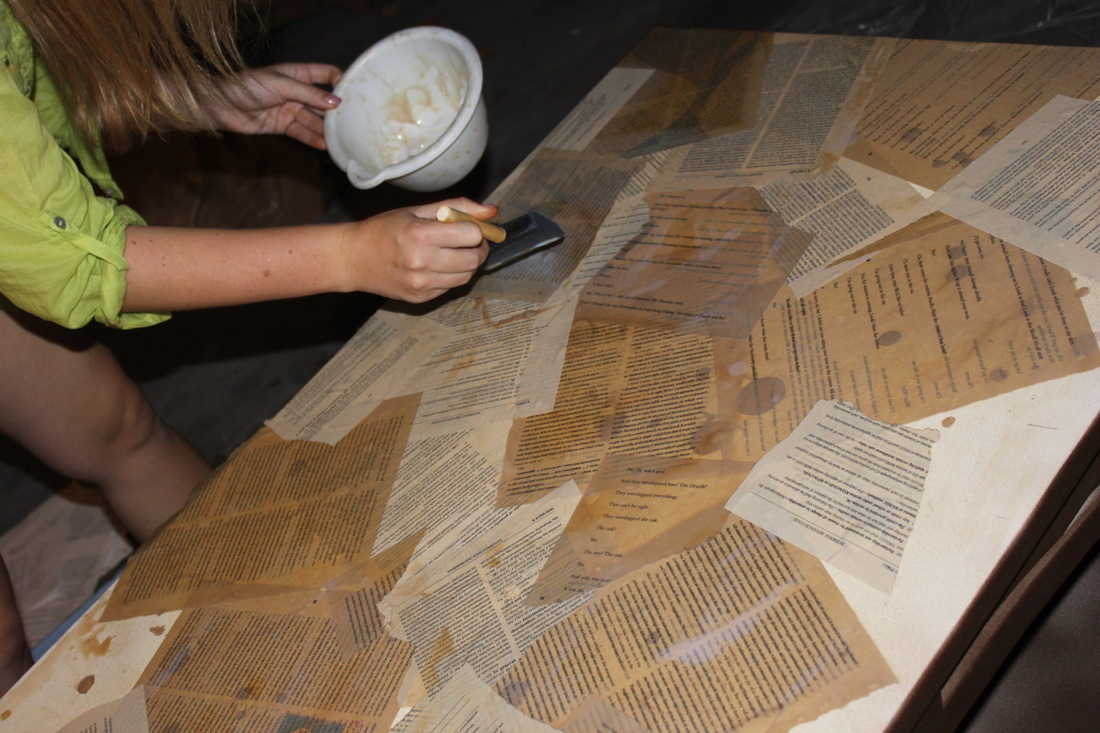 Modge podging 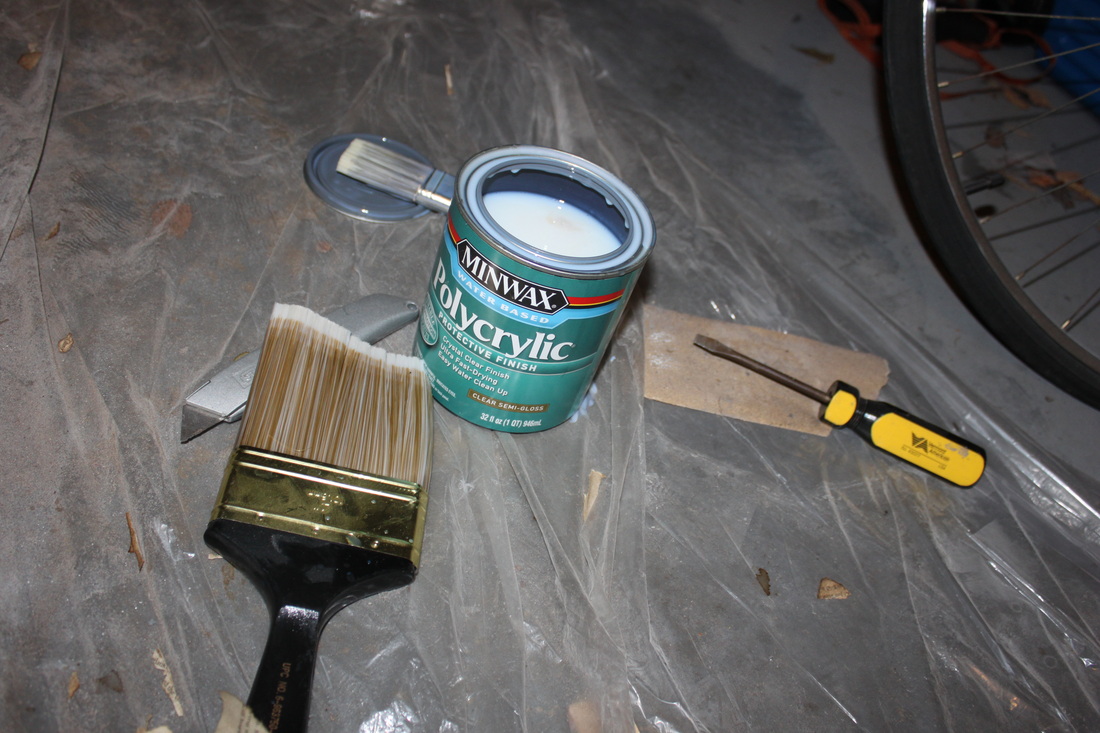 Tools for the last step! 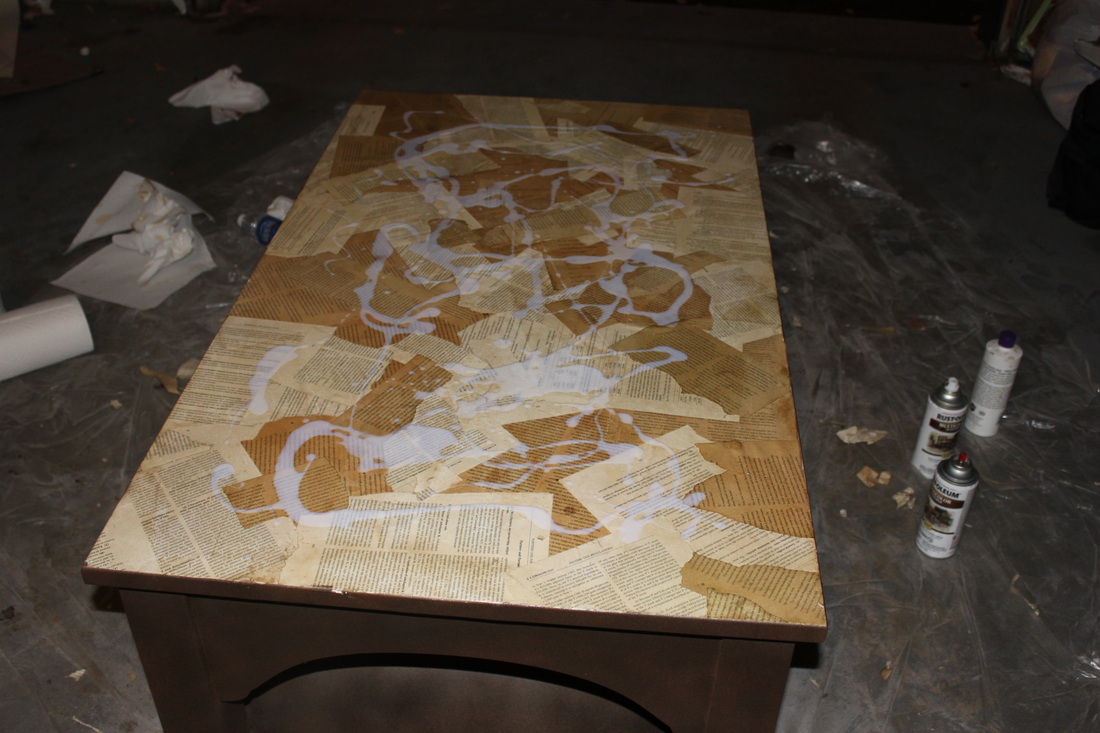 Applying the finishing coat! 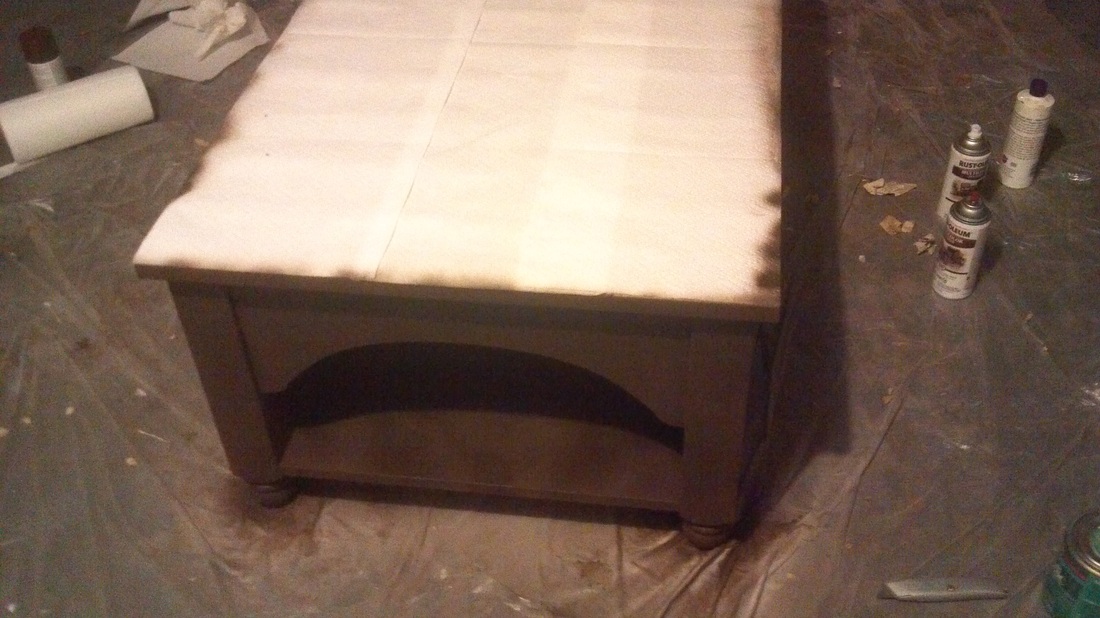 Covering the table top with paper towel to do some touch-up spray paint |
So if you have some time (waiting for the paint to dry is definitely the hardest part) and some energy, you will end up with a fabulous and personalized coffee table made with real coffee! Just don't forget to use coasters to keep it looking wonderful :)
--Amy
Now we have to do our end tables too!

 RSS Feed