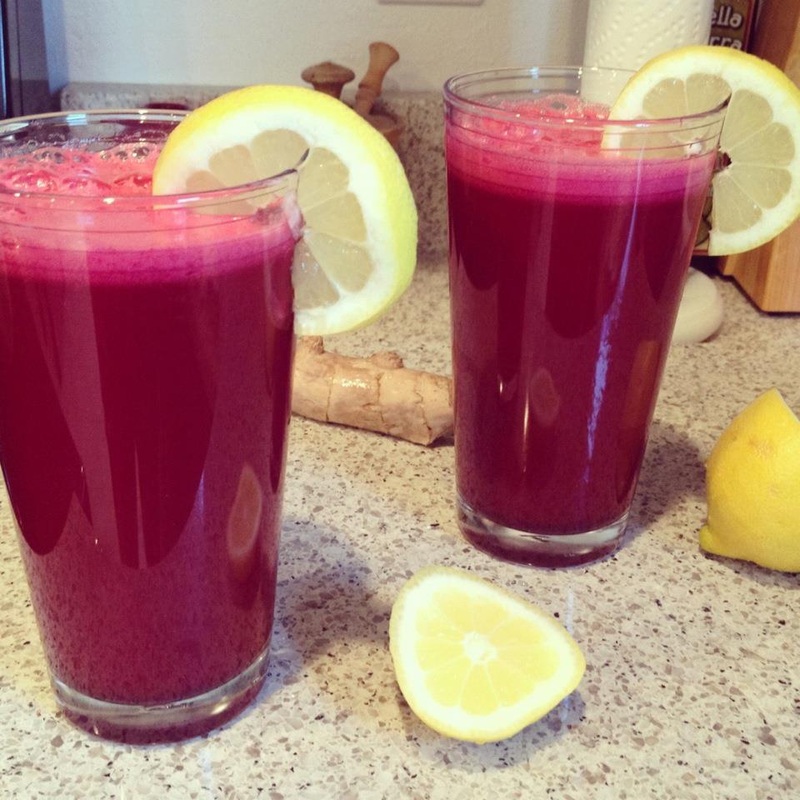
This is one of our favorite juices we make on a regular basis. It's simple, sweet and one of the most palatable ways to introduce fresh juices to your diet.
Makes 2 servings
4 whole apples
4 large carrots
2 medium beets
1 inch piece of fresh ginger
Juice from one lemon
Roughly chop the apple, carrots, beets and ginger into pieces small enough to run through your juicer. When juice is extracted, stir in the juice from one lemon. Occasionally, depending on my tastes, I will add some filtered water to the recipe afterward. Some days I can't handle super sweet flavors and prefer something a little more muted. Do what works for you. My husband has a sweet tooth and likes it as is.
Ginger is a digestive aid and is also beneficial for combating nausea. It can be a little spicy for some people so if you are not sure if you'll like it, just cut back on how much you add.
Warning: if you aren't used to eating beets on a regular basis, you may find that your pee and/or poop turn a lovely pinkish or reddish hue. Try not to panic. :)
-Shelly
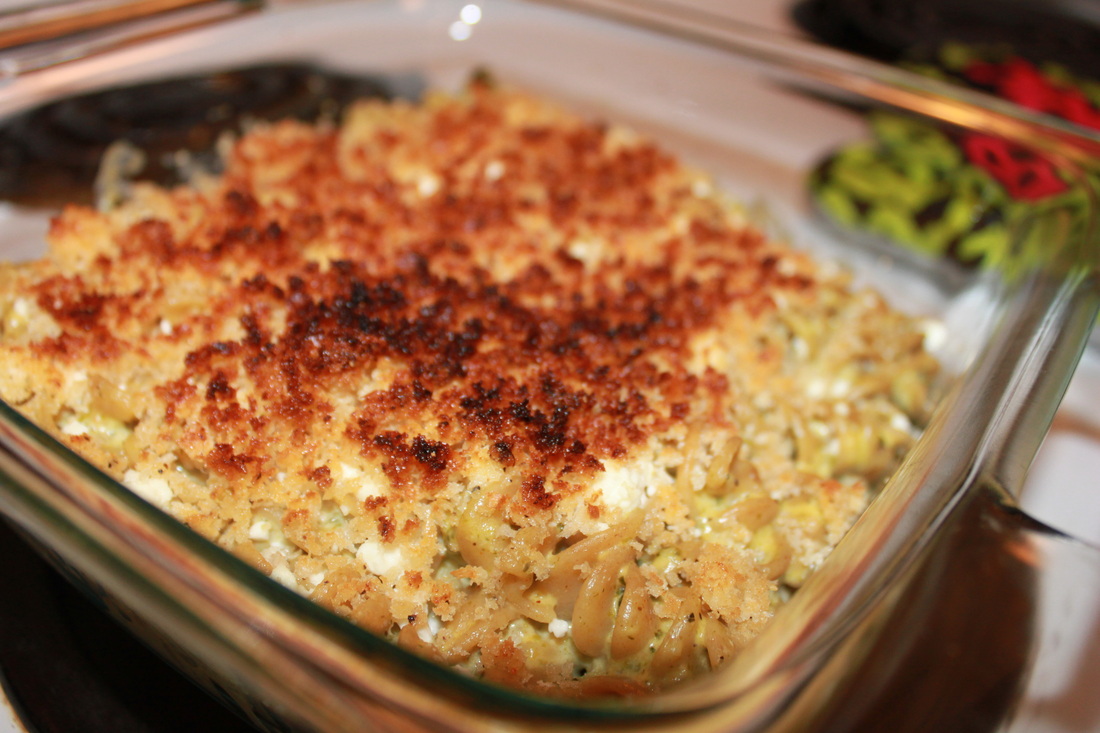
My coworker Jen gave me some peppers from her garden so I thought I'd make my favorite green chile mac and cheese with them! I've gotten pretty good at hiding vegetables in food since my boyfriend Andrew is a little picky about his veggies. And mac and cheese is a great medium for hiding vegetables or just adding them in, considering it's not the healthiest entree to begin with! My favorite veggies to add to mac and cheese include spinach, onions, carrots, and collard greens, but this recipe's use of peppers gives it a wonderful heat! Try it out and make it your own! Also, I almost never measure ingredients when I'm just cooking so I apologize for the lack of preciseness of this recipe! Ingredients: - At least two whole chile or poblano peppers
- olive oil
- whole grain pasta
- milk
- cream cheese
- your favorite cheeses (I used colby jack & feta, but a sharp white cheddar would also be wonderful with this)
- onion, diced
- garlic, minced
- panko bread crumbs
- butter
- cayenne pepper
- salt
- pepper
Directions: - Rub the outside skin of the peppers with a small amount of olive. Roast the peppers whole in an oven at 425 F for about 20 to 30 minutes or until the outside skin of the peppers is slightly charred.
- While the peppers are roasting, boil the water for your pasta and cook according to the package directions. In a small pan, saute the onions in a small amount of olive oil (just enough to coat the bottom of the pan) until they turn translucent. Add the garlic and saute for a minute or two more (you don't want to overcook the garlic or it will turn bitter).
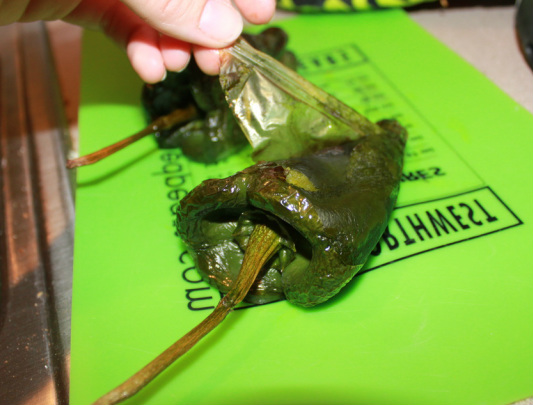
- When the peppers are done roasting, let them cool for a few minutes. Then carefully peel off the thin outer layer of skin as shown below:
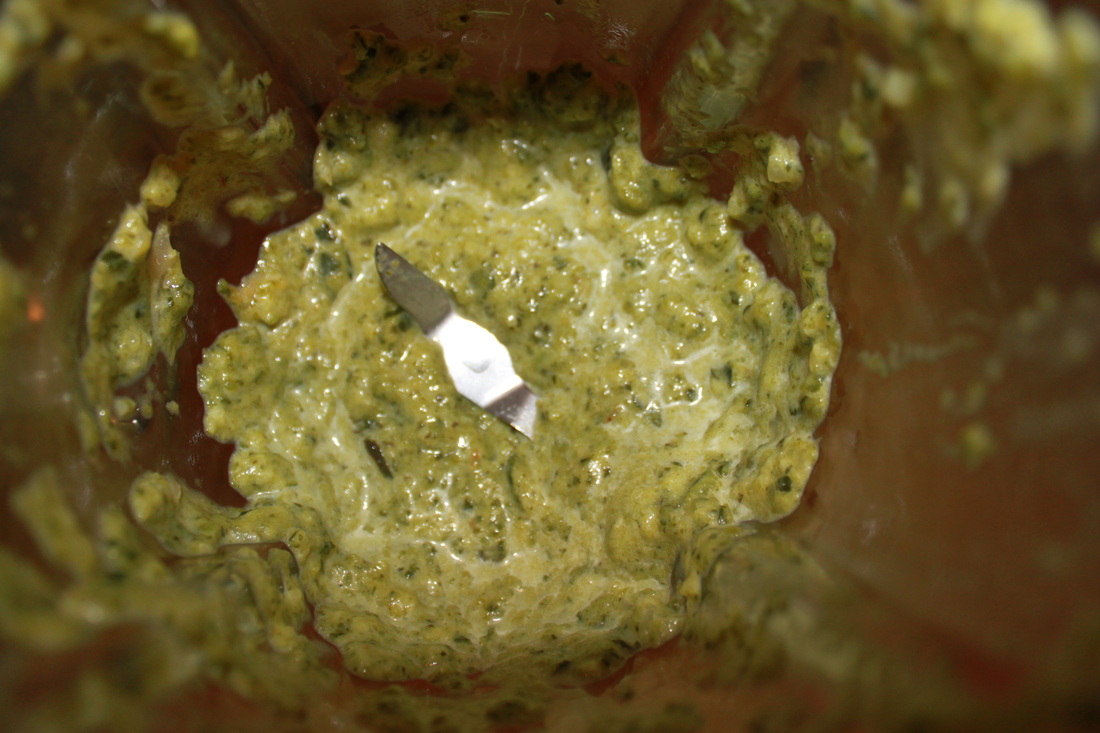
- After the skin is peeled, gently pull the stem of the pepper to pull out the ribs and seeds. You'll want to cut (or pull, the roasted peppers are quite fragile) the pepper in half and gently wipe out the rest of the seeds. Then throw the peppers and onions and garlic (if you'd like them to be pureed as well) into a blender with about 1/4 to 1/2 cup milk.
- Pour the entire mixture back into the pan you used to saute the garlic and onions. Add your choice of cheeses (I used about 4 oz. of cream cheese plus 3 oz. of colby jack) and stir the mixture over low heat until completed melted. Add salt and pepper to taste. (I added some cayenne pepper for some extra heat as well. If you didn't use onion or garlic you could also use onion powder and garlic powder for extra flavor!)
- When your pasta is done, drain it and pour into a baking dish. Pour the sauce mixture over the pasta and mix to combine.
- To add some crunch, melt a tablespoon of butter and mix with about a 1/2 cup of Panko bread crumbs. Sprinkle over the top of the pasta. (I also sprinkled feta on top!)
- Throw under the broiler for about 2 to 3 minutes or until the breadcrumbs are nicely browned! Serve and enjoy!
-- Amy
Inspired by Jeff Novick RD's DVD "Fast Food Burgers and Fries." These are vegan and can easily be made gluten free if you choose gluten free oats.
Ingredients:
1- 14 oz can salt free black beans, drained and rinsed
1- 14 oz can salt free kidney beans, drained and rinsed
1 cup dry rolled oats
1 cup cooked brown rice
4 Tbs Salsa
1/2 cup frozen corn kernels (could use fresh if you wanted)
hot sauce, optional
Directions:
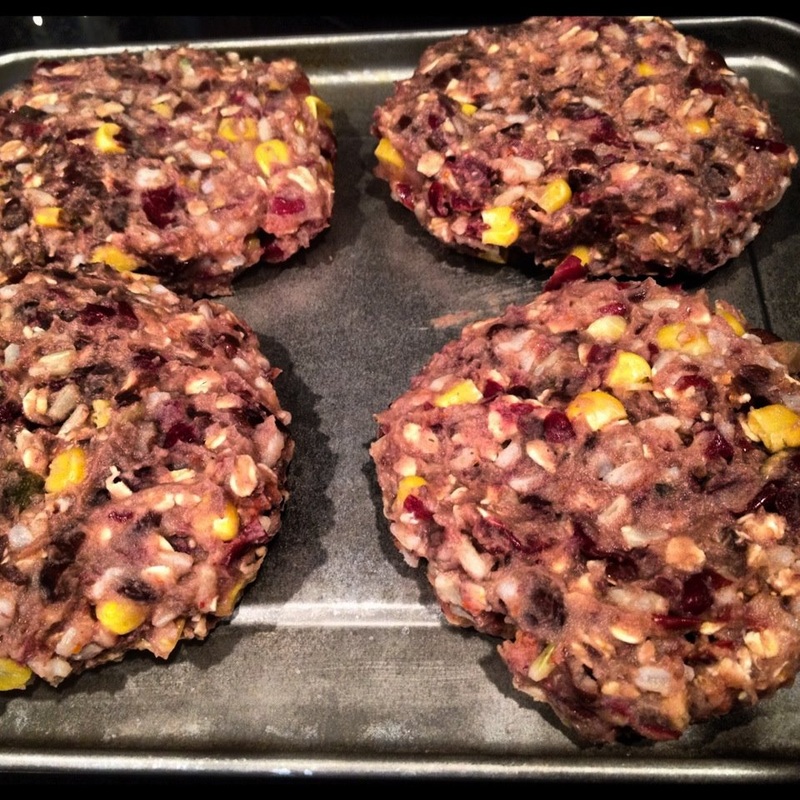
Place drained and rinsed beans into a large bowl and mash with a potato masher until thick and creamy. I like my beans to be slightly recognizable so I don't mash them completely but you want them to be somewhat creamy so they hold together. Add the salsa, oats, brown rice, hot sauce and corn and mix until well combined. They mixture should resemble a dough that holds together.
Divide the mixtures into 8 equal portions and shape into hamburger patties. Place on a plate and allow to sit in the refrigerator for approximately 10 minutes. This makes them firm enough that they stay together during the cooking or grilling process. I cook ours in a un-oiled skillet but you can also use a griddle pan, broiler or toaster oven to cook them.
(The only reason I used an un-oiled skillet is because we are staying away from oils and added fats so if that is not something you are staying away from, by all means, use a little oil.)
I topped ours with more hot sauce, spinach, shaved red onions and pickles. Sliced avocado would be awesome as well.
Enjoy!
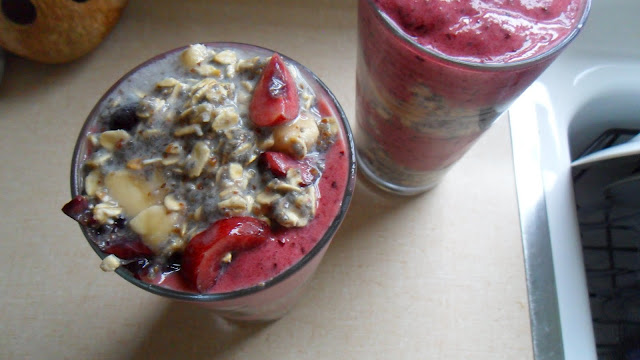
These vegan and gluten free oats are inspired by Angela Liddon's recipe for Vegan Overnight Oats. They are sweet, high in fiber and the perfect cold breakfast. This recipe makes two large servings.
Ingredients:
Oat Layer
1/2 cup Gluten Free Thick Rolled Oats
2 Tbs. Flax Meal
2 Tbs. Chia Seeds
1 cup Vanilla Almond Milk
1 fresh ripe Banana, chopped
1 cup fresh Cherries, pitted and chopped
Cherry-Banana Soft Serve Layer
1 cup fresh Cherries, pitted
2 frozen Bananas, cut or broken into chunks
Directions:
In a large bowl, combine all ingredients listed for the oat layer. Stir thoroughly to combine and set aside. The chia seeds, flax meal and oats will start absorbing all of the liquid ingredients. In a blender or food processor, combine the pitted cherries and frozen bananas. Blend until thoroughly combined. You might need to add a little bit of almond milk to reach your desired consistancy.
In two glasses or desired serving dishes, layer the two mixtures.
Serve immediately.
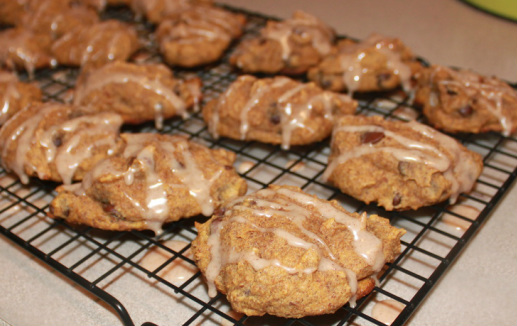
 Michelle recently found out she had a gluten intolerance so I thought I'd try to do some gluten-free baking to treat her, something I've surprisingly never done before! Since Pick 'n Save is just across the street from my apartment, I decided to scope out what sort of gluten-free products they had available for baking. Unfortunately, while they did have a decent assortment of gluten-free flours, there was no xanthan gum or guar gum, ingredients that are typically needed when doing gluten-free baking in order to act as a binder in place of gluten. Some quick web searching on my phone and I found that it is still possible to bake without these ingredients but it might not work as well. I figured I give it a shot and try using some tapioca starch I had left over from making tapioca popovers last week to act as an emulsifier. Good news: it worked! The cookies turned out to be delicious with a nice, soft texture! Below is my recipe for Gluten Free Pumpkins Cookies with a Cinnamon Glaze modified from: http://glutenfreecooking.about.com/od/dessertsandsweets/r/glutenfreepumpkincookierecipe.htm Prep Time: 8 minutes Cook Time: 12 minutes Total Time: 20 minutes Cookie Ingredients:- 2 cups gluten-free flour (I used 1 cup of rice flour and 1 cup of flaxseed meal)
- 1 teaspoon baking soda (I checked mine just to make sure it was gluten-free!)
- 1 1/2 teaspoons cinnamon
- 1/2 teaspoon nutmeg
- pinch of kosher salt
- 1/4 cup tapioca starch (corn starch might also work)
- 1/2 cup organic coconut spread OR unsalted butter
- 1 cup brown sugar
- 1/4 cup syrup (the original recipe called for molasses)
- 1 egg
- 1 cup canned pumpkin puree (don't use presweetened canned pumpkin pie mix)
- 1/3 cup milk OR your favorite dairy free milk substitute
- 1 teaspoon vanilla extract
- 1/2 cup chocolate chips (optional)
Glaze Ingredients:- 1 cup confectioner's sugar
- 1 tablespoon milk OR dairy free milk substitute
- 1/4 teaspoon vanilla extract
- 1/8 teaspoon cinnamon
Directions: - Preheat oven to 375 F. Line 2 large baking sheets with parchment paper or tinfoil and lightly grease.
- In a medium mixing bowl combine the dry ingredients (gluten-free flour, baking soda, cinnamon, nutmeg, salt, tapioca starch) and whisk until thoroughly combined.
- In a separate mixing bowl, cream butter and sugar until light and fluffy. Add syrup, egg, pumpkin puree, milk, and vanilla and beat until combined.
- Slowly add the dry ingredients to the wet ingredients and stir until combined. Gently fold in chocolate chips at the very end.
- Drop cookies by generous rounded teaspoons on prepared baking sheet. Bake for about 12 minutes in preheated oven.
- While cookies are baking prepare glaze by whisking confectioner's sugar, milk, vanilla and cinnamon in a medium bowl until smooth and glossy. You may need to add more milk if the glaze is too thick.
- Place cookies on bakers rack to cool for 1-2 minutes. Drizzle glaze over cookies.
Notes: - Makes about 3 dozen cookies
- For larger cookies drop cookies on prepared baking sheet by using a rounded tablespoon and bake an addition 2-3 minutes or until the cookies are done.
- Always make sure your work surfaces, utensils, pans and tools are free of gluten. Always read product labels. Manufacturers can change product formulations without notice. When in doubt, do not buy or use a product before contacting the manufacturer for verification that the product is free of gluten.
--Amy
|
 RSS Feed