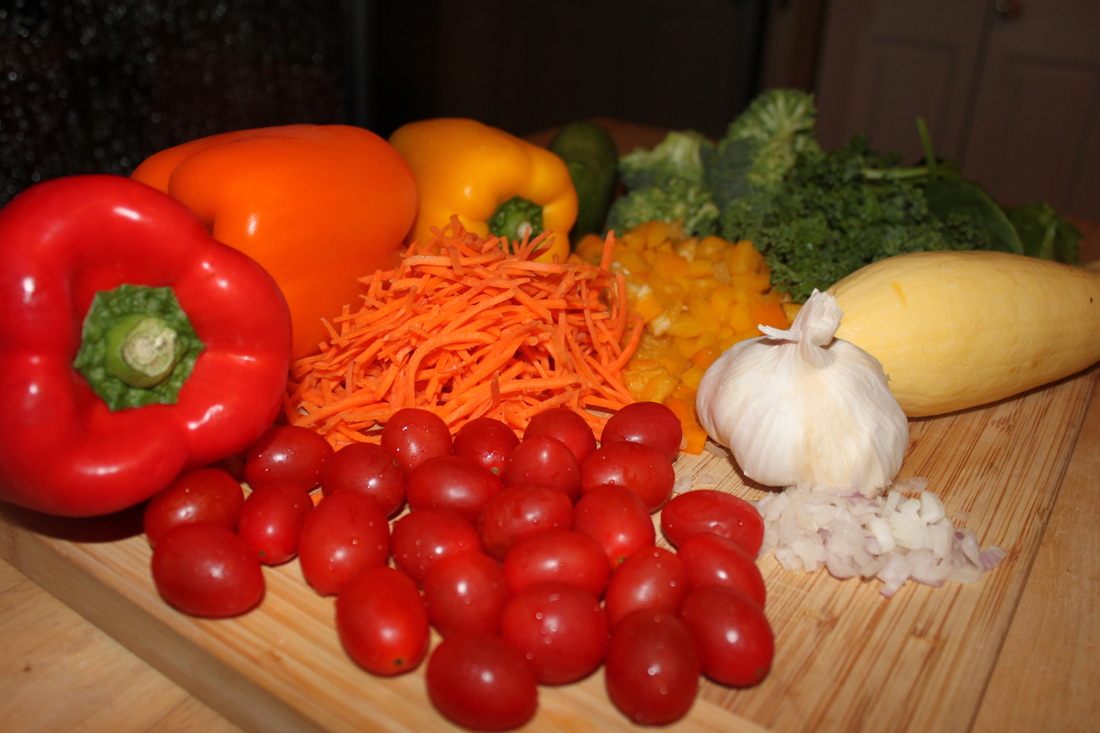
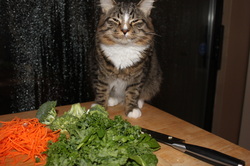
We had a fundraiser at MCFI for our children's programs, and we were left with a plethora of vegetables. I was more than happy to take the extra home! Reggie, my silly little kitty, was not as thrilled: <---- "Meow, where's the tuna?!"
But what was I to do with all these vegetables? Well I've always found that a simple stir fry is the easiest way to use up lots of veggies and thought it would be a perfect dinner for a rainy night! Luckily I also had some quinoa tucked away in my pantry.
But what was I to do with all these vegetables? Well I've always found that a simple stir fry is the easiest way to use up lots of veggies and thought it would be a perfect dinner for a rainy night! Luckily I also had some quinoa tucked away in my pantry.
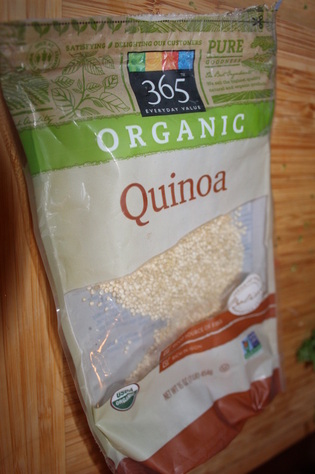 |  If you didn't already know, quinoa is one of the best whole grains out there (and it's really actually a seed!) It's a complete protein, meaning that it contains all of the 9 essential amino acids our bodies need to function! This is rare to find in a non-animal product. Additionally, it is high in many other vitamins and minerals, including iron and fiber. It's also naturally gluten-free! And it worked fabulously in this dish! (And just in case you're wondering, it's pronounced KEEN-wah, but if you don't say it correctly oh well! It is still a fun word and tasty food!) |
Rainbow Vegetable Quinoa Stir Fry
Ingredients:
Directions:
Ingredients:
- 2 cups vegetable broth
- 1 cup quinoa
- 2 tablespoons oil (typically if you are actually high heat stir-frying, you want to use an oil that has a high smoke point, these include peanut, corn, safflower, grapeseed, and canola oil)
- 1 bell pepper
- 1 shallot
- 2 cloves garlic, minced
- 1/2 cup shredded carrots
- 1 cup broccoli, cut into florets
- 1 cup cherry tomatoes, halved
- 1 cup kale, roughly chopped
- 1 cup spinach, roughly chopped
- 1-15.5 oz can of your favorite beans (I used Lima beans)
- 1 teaspoon curry powder
- 1 teaspoon cumin
- 1 teaspoon turmeric
- 1/2 teaspoon black pepper
- kosher salt to taste
Directions:
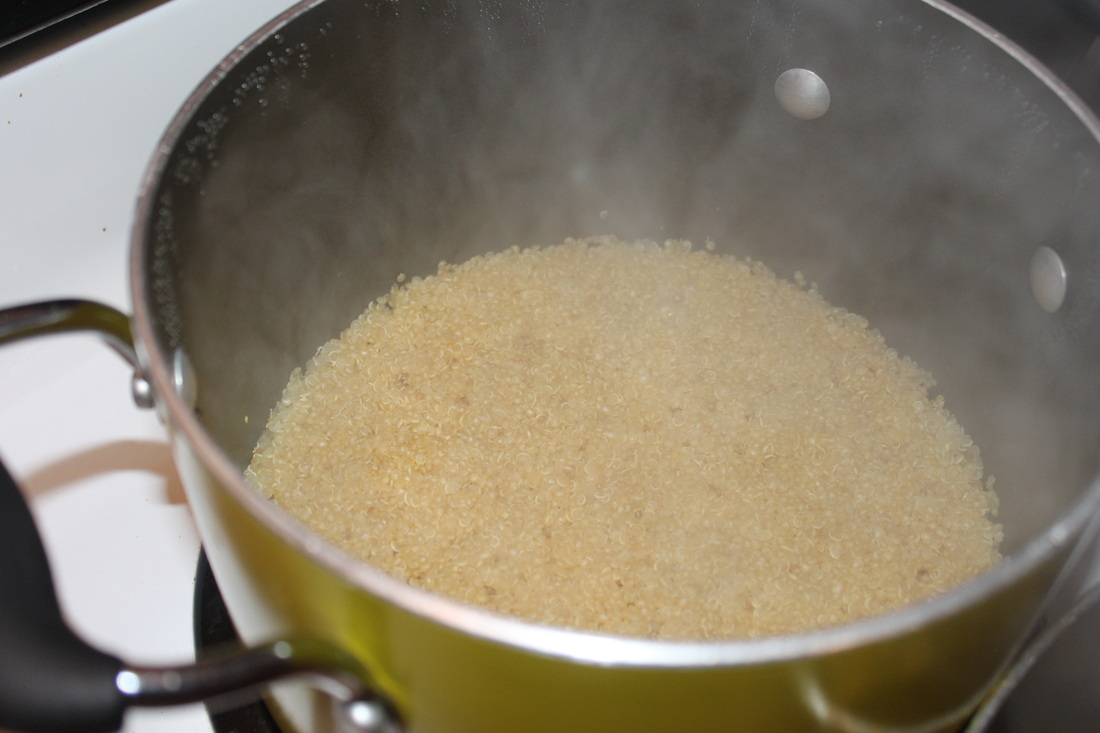
- Rinse your quinoa well in a mesh strainer to remove the natural bitterness of the seed's outer coating. I swear this step is important! Then add the quinoa to and your 2 cups of vegetable broth in a pot that has a matching lid and bring to a boil. Once it's boiling, turn the heat down to low, cover your pot, and let the quinoa simmer for about 15 minutes or until the liquid is absorbed and you can see tiny spirals (the germ) curling around the quinoa seeds.
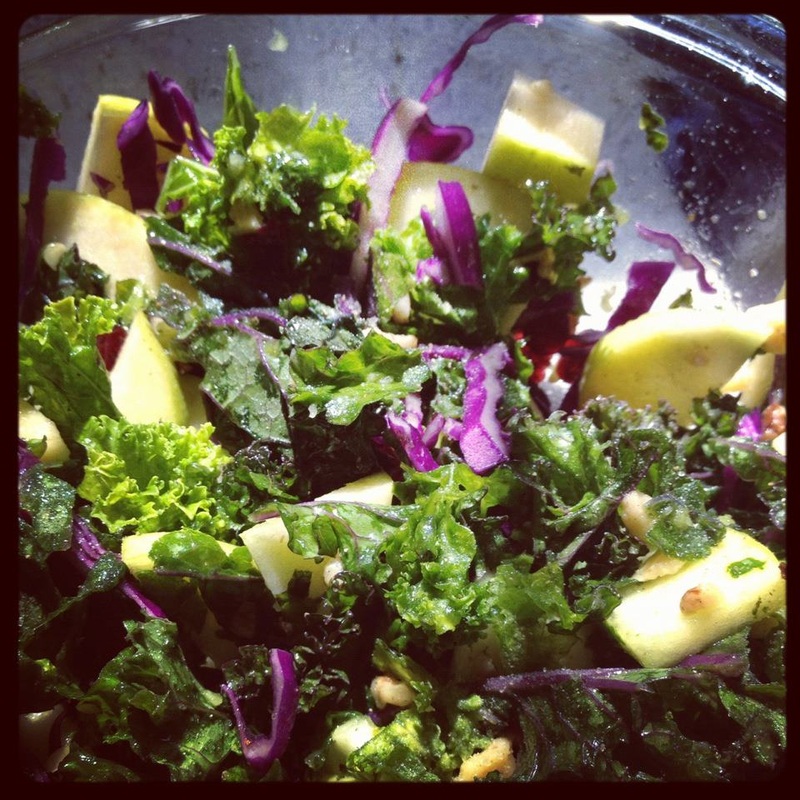
- Prep all of your veggies (while the quinoa is cooking). I listed everything that I used but the great thing about stir fries is you can easily substitute whatever vegetables you have available! I ran out of onions so I used a shallot instead. Leeks would also have been delicious! It's also important to make sure you get your vegetables down to manageable textures for this. You don't want huge chunks of carrots that will take forever to cook, same with broccoli or cauliflower if you chose to use those.
- Optionally, "parboil" your tougher veggies. I just threw my chopped broccoli in a bowl with about 1 cup of water and microwaved them for two minutes. It helps to lightly steam the broccoli so it's not as tough. If you wish, you could actually parboil the veggies or steam them to tenderize.
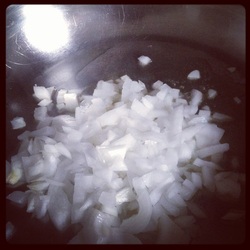
- Heat a large saute pan or wok if you have it over medium-high heat. Add your oil. When your oil is hot (you can test it by carefully spritzing a drop of water on the oil, if it sizzles, it's ready), add your onions and bell peppers and cook for a few minutes.
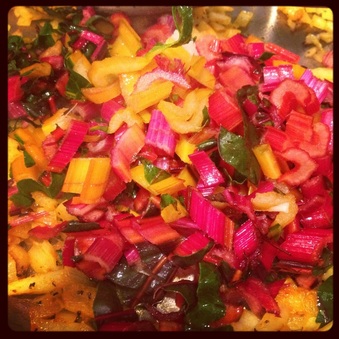
- Then starting adding veggies by the amount of time they need to cook. Using pictures below, I've shown the order I added the vegetables.
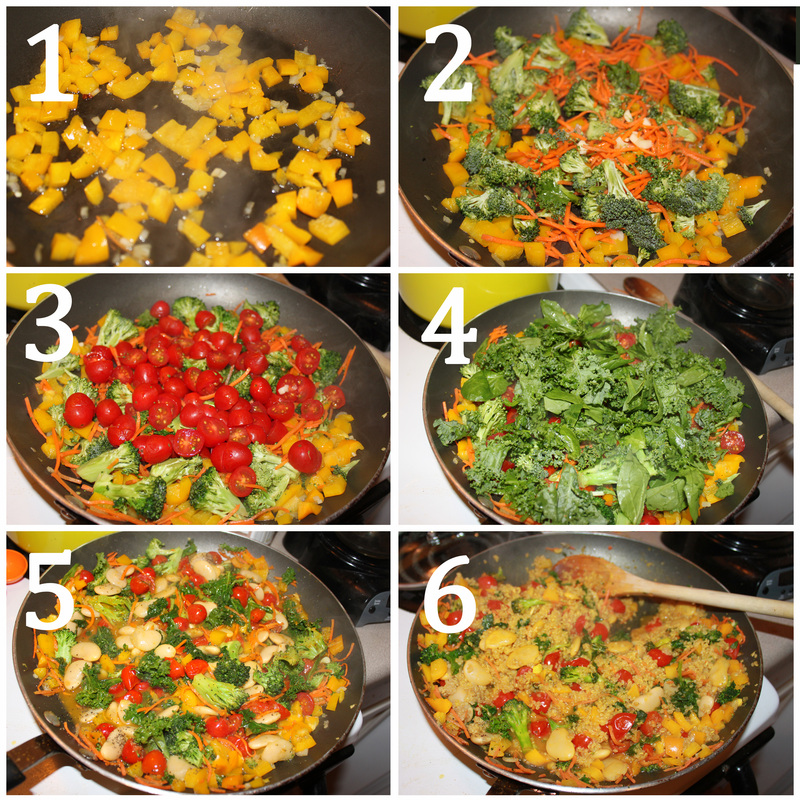
- When your vegetables are slightly browned and tender (try not to burn anything!), add the entire can of beans and its liquid (see picture #5). (Whereas I normally drain and rinse my beans, I like using the bean liquid for saltiness and a little moisture in this recipe.)
- When your quinoa is ready, add it to the pan as well as your spices. Stir it up so it's all mixed together and the beans are heated through. Then portion into a bowl and enjoy!
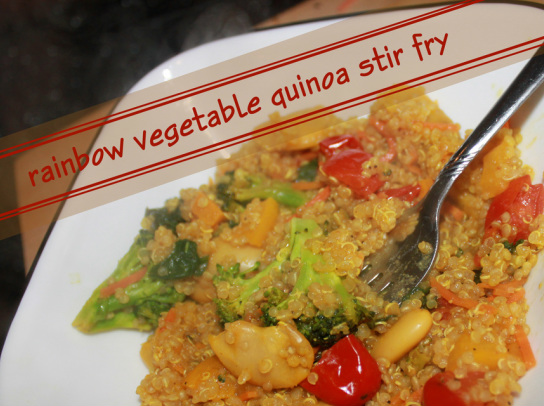
Makes about 4 large portions and is still great as leftovers the next day! Even goes mixed in scrambled eggs or an omelet for breakfast! Hope you like it!
--Amy
--Amy
 RSS Feed